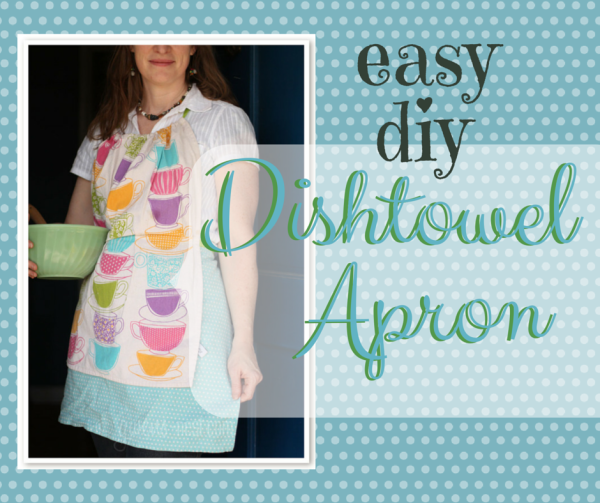
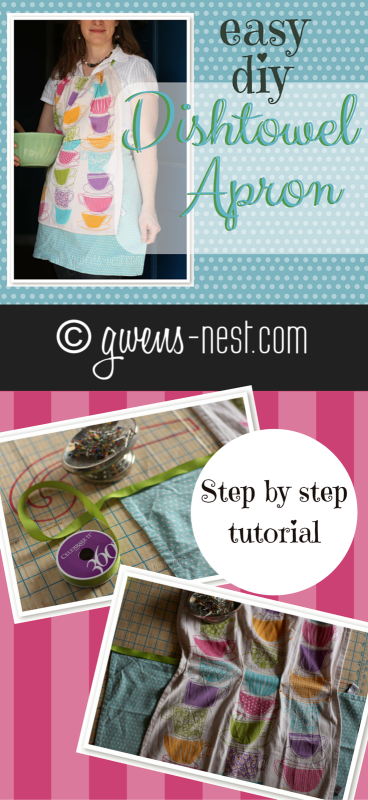
 This dishtowel free apron pattern that I’m sharing today is super adorable and you won’t believe how easy it is to put together. I have this AMAZING craft guru sister, and she helped me put this together for you guys. I sort of have a *thing* for cute cotton printed kitchen towels. I *might* have a few too many, and only getting to enjoy one at a time was crimping my style. But now I can enjoy my favorite prints every day with this cute dishtowel apron!
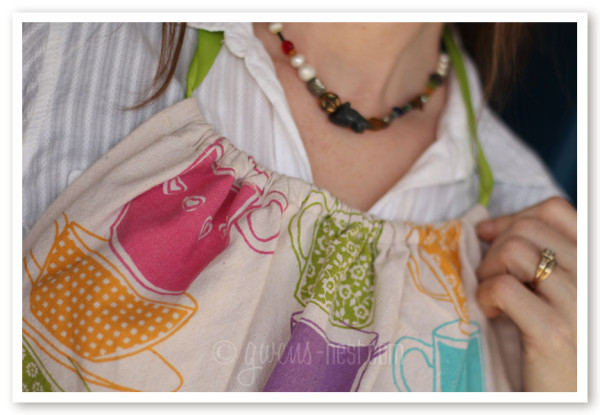
I think this would be the cutest Mother’s Day gift or wedding shower gift! One of the best things about this apron design is that it works for any size bust. The gathered halter style neckline. It can be spread out to cover cooks with more ample bosoms than myself. (Like my beautiful sister)
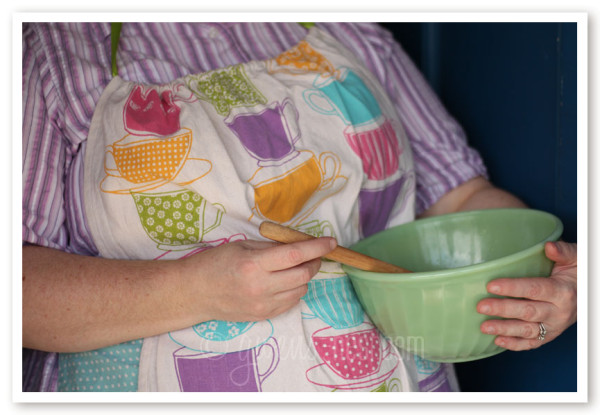
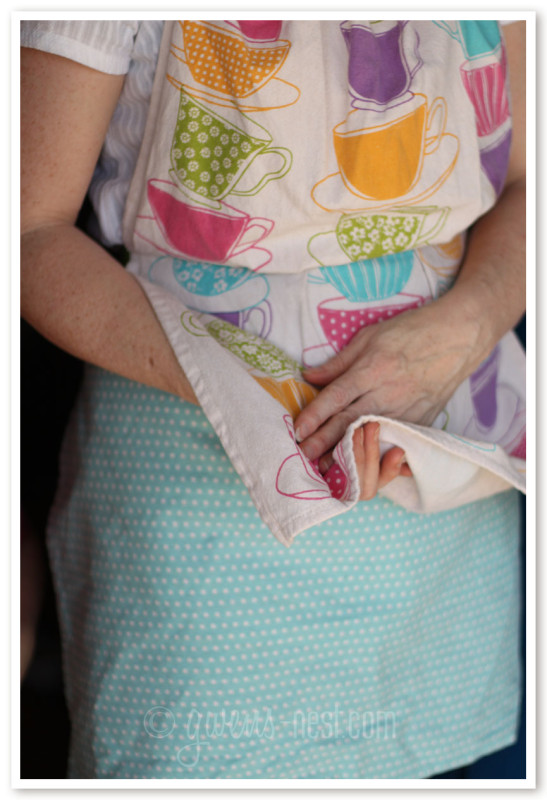
Coordinating cotton towel sets are easy to come by…there are SO many great designs out now. I paid only $5 for this coordinating two pack of towels! (I recommend stores like TJ Maxx, Target, and Marshalls to find towel sets.)We chose to let the top towel overhang the bottom towel so that it could be used to wipe hands or little faces. 🙂
If you can sew a seam, then I *promise* that you can make this cute apron. I’ll walk you through it step by step.
Dishtowel Free Apron Pattern
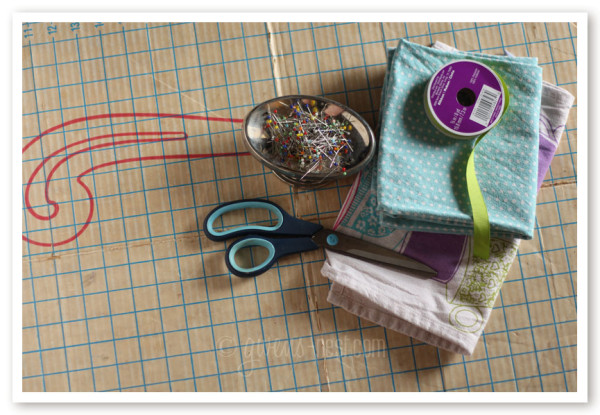
Materials:
- two coordinating dishtowels of any size
- coordinating ribbon (3 1/2 yards) & thread
- pins, scissors, sewing machine
Directions:
- Wash your towels. This is important because they usually have a high cotton content so they will shwrinkle up (that’s a compound word) and make your finished apron look sad. So definitely prewash. You can iron now, but I chose to iron after construction.
- Lay out your towels like they will be sewn, choosing which towel to use for the bodice and overhang.
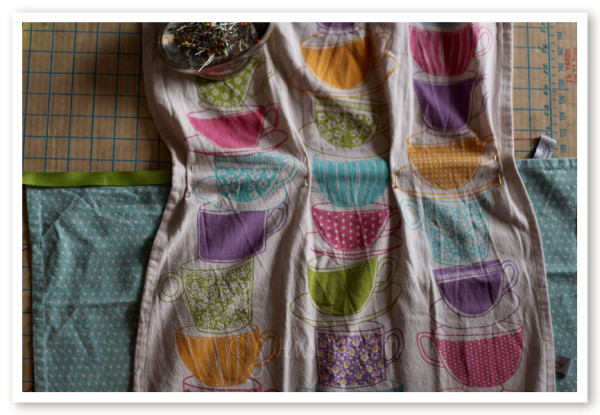
- Try on and adjust the waist. I chose to add a couple of 1/2″ pleats flanking the center row to teacups at the waist and at the outside edge to give the apron some shape.
- I wanted my bodice to be about 12 inches tall so the apron tied around my true waist. If you like an apron that sits lower on the waist, try 14 inches. Pin together.
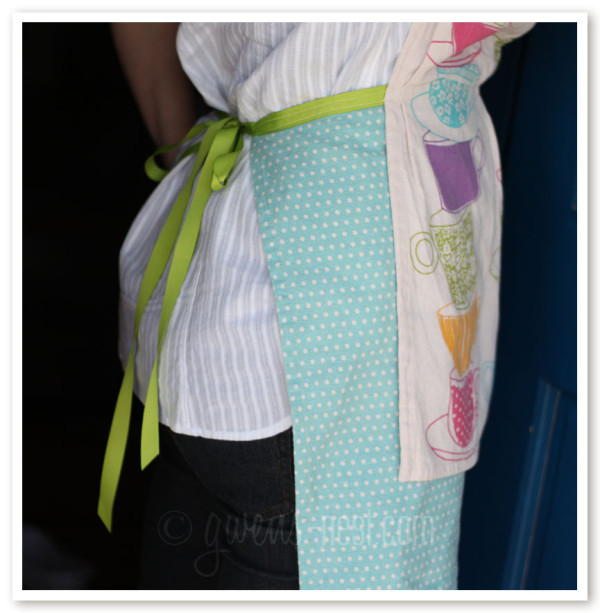
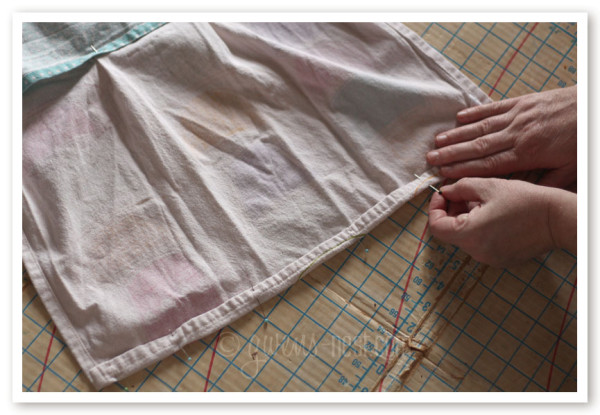
- Now turn your apron over so you are looking at the back. Along the top edge of the bodice towel, fold over 5/8 to 1 inch. Stitch down right along the edge to create a channel for the neck strap.
- Run a 44-46″ piece of ribbon through the channel. I like to use a large safety pin, pinned through the end of the ribbon to give me something to push through the fabric tube. You’re done with the bodice!
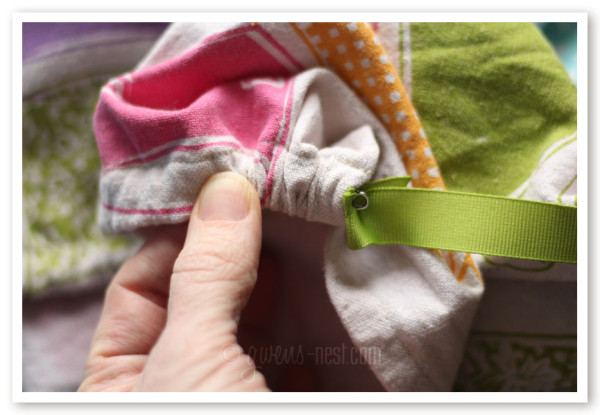
- Now we’ll move on to the ties. If you want the ties to edge the waist apron towel, pin them in place. Otherwise, simply stitch your ties to the corners.
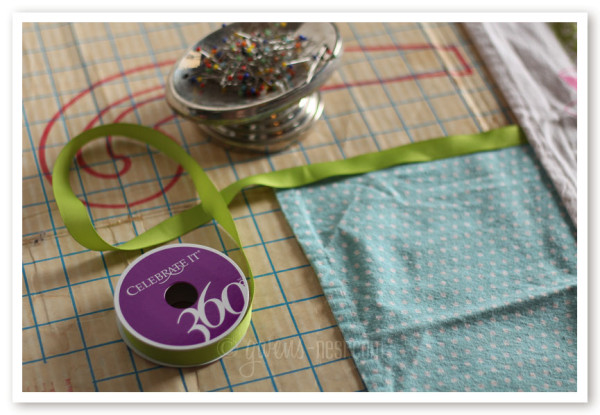
- I chose to use longer ties that tucked in under the top towel because I love the color combo. Stitch towels together along the waist. I ran a seam from the corner of the towel through the ties, and then squared the seam at the far corner and came back again. The one seam secured the towels, pleats, and ties.
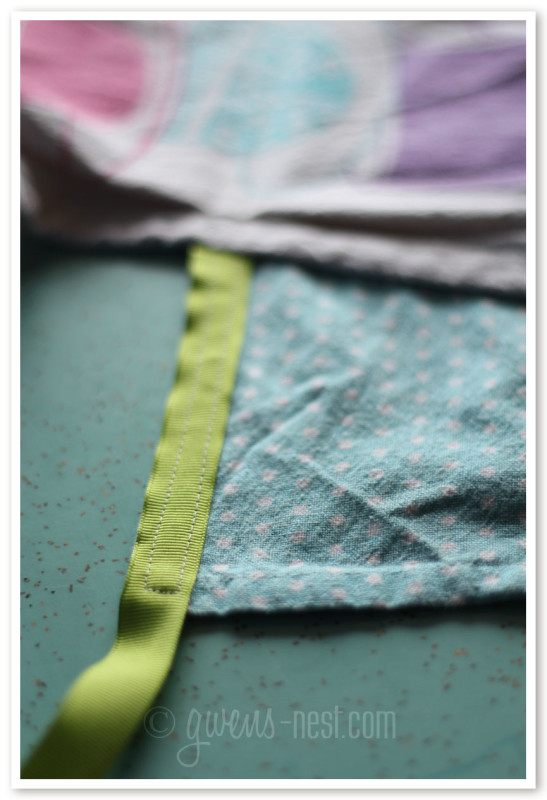
- One last tip that I think ads a nice finishing touch: trim your ribbon ends to points and heat seal them along the edge of a candle. This keeps them nice and finished so they won’t fray over time.
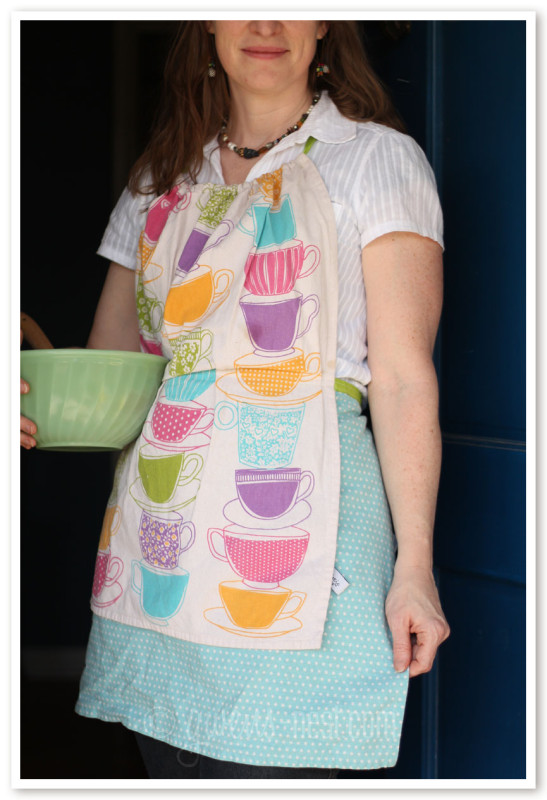
Done! Super easy and SUPER cute!
So what do you think? Wouldn’t this make a perfect gift for Mother’s Day?
I am so going to make one of these! Or maybe 2 or 3. Great gift idea for Mother’s day or weddings too! Thanks for sharing.
You had me at “ample bosom”! Now I have to try. 🙂