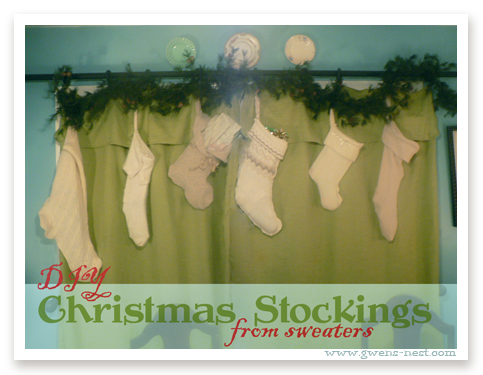
 DIY Christmas stockings from sweaters was not an intentional goal. But I only had 5 matching stockings, and our family had grown to 6.
Naturally, I went shopping. Our dining room is a lovely shade of turquoise, with apple-green accents, and I really wanted something sort of neutral and natural for that room. I found bright red, tapestry, and all forms of fanciness, but nothing that really fit my vision for sophisticated natural.
Wonder if I could make something that would work? I’ve made stockings in the past, and they’re not hard to do. Suddenly, I remembered a couple of sweaters that I had set aside to sew something out of, since they had little moth holes. And I had a few more cream sweaters in the donations bag. PERFECT!
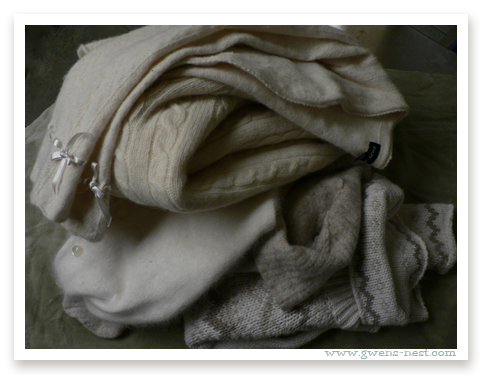
a pile of potential
What I had on hand was a mix of cashmere, wool, and even a cotton sweater in neutral/cream tones.
If my dining room was more rustic and neutral, I think a mix of Scandinavian sweaters in reds, greens, and blues would make adorable stockings! But this perfectly fit my vision.
I’m so happy with how they turned out, and best of all, they cost me nothing but an afternoon of cutting and zig-zag stitching!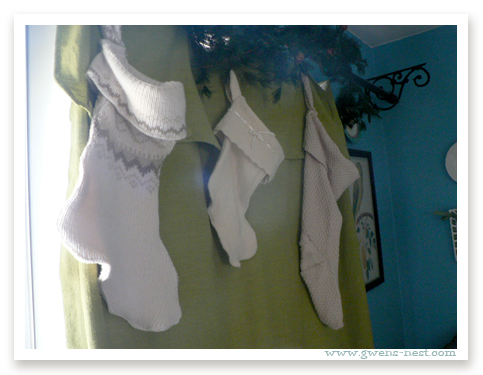 Each sweater had its own personality, and dictated how large the final stocking could be. I chose a part of the sweater that I wanted to feature on the stocking. For some, I wanted the collar or decorative sleeve to be the opening of the stocking.
At first, I used an actual stocking as a pattern, and then I got creative, and just played with different ideas and shapes. I drafted a shape out directly on the sweater, but I drew the seam line about an inch bigger than I wanted the finished product to be. The photos tell the story best.
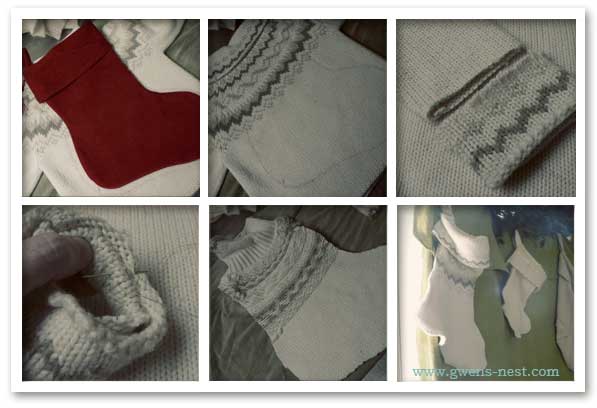 Then I cut out the shapes, and turned them wrong side out. From what was left of the sweater, I cut and stitched a tube to make the hanging loop. Finally, I zig-zag stitched the sides of the stocking together, incorporating the loop into the side seam. Tuck the loop into the inside of the stocking, as close to the top as you can get. I angled them up just a bit. Often, the end of the cuff had a cute design that I could use, and a nice finished edge.
I chose to use the collar of the sweater as a cuff on a few of the designs, which was a couple more steps, but I loved the way it looked. 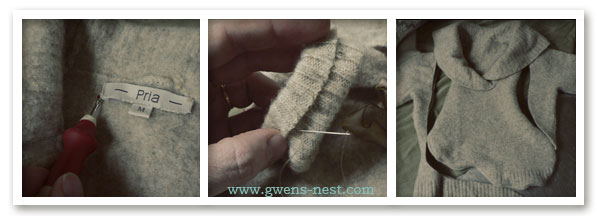
This lovely collar made a very interesting cuff. I removed the tag first. I used the finished edge of the cuff to cover the unfinished side when stitching the loop closed. And there is the finished product, after I stitched it all together.
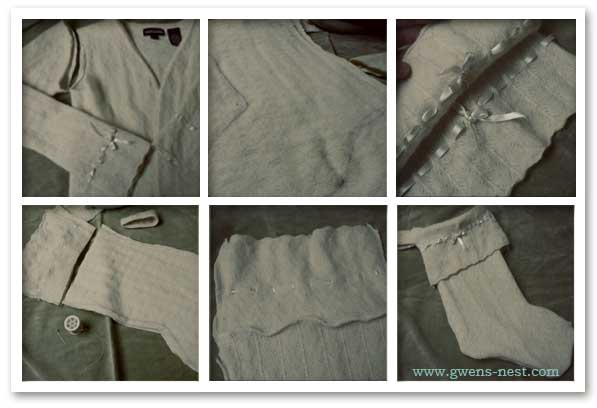 This beautiful (yet stained/holey) cashmere sweater had gorgeous sleeves with little satin bows woven through them. I cut both off, and stitched them together to create a pretty cuff. I side seamed them together, leaving a little zig-zagged keyhole at the top of one side for the hanger loop to slip through. I wanted the hanger to attach to the body of the stocking for added strength.
After I stitched the stocking together, with the loop seamed into the side, I turned it right side out. I turned the cuff wrong side out, and tucked it inside the stocking. Match up the keyhole with the loop side of the stocking. Line up the top seams, and zig-zag stitch. Then flip out the cuff…it will be right side out, and slip the loop out of the keyhole that you left. It’s the smallest of all the stockings, but it’s my favorite.
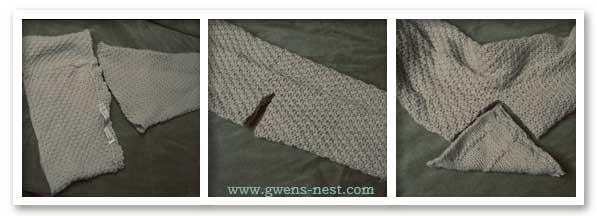
Here, I used the collar as a cuff, and the entire sleeve to create a very long stocking. It’s a cotton sweater, and very stretchy. The center of the sweater had a cable knit weave, that I used to create a heel. I cut a slit where I thought the heel should go, and then added in a generous square of the contrasting cable weave. For the toe, I flattened the end of the cuff, as if it were the toe seam on a sock and stitched it closed from the inside.
In hindsight, I wish I had cut lining fabric (velvet?) to help the stockings hold their shape better, but I think they turned out pretty cute just like they are. I may eventually add lining just for added texture and to help define the shapes a bit more when the stockings are empty.
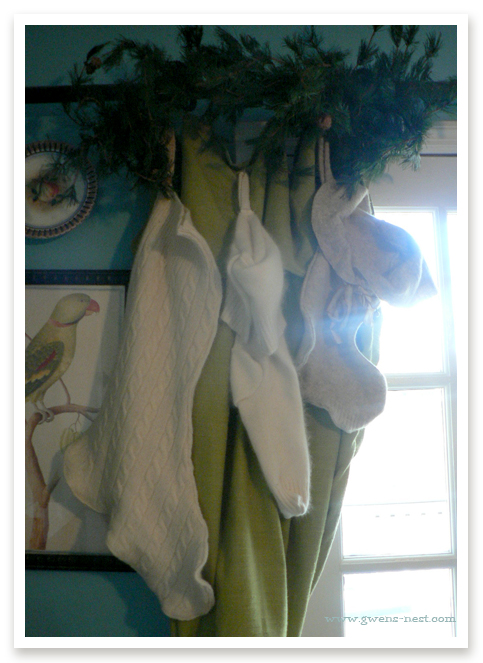
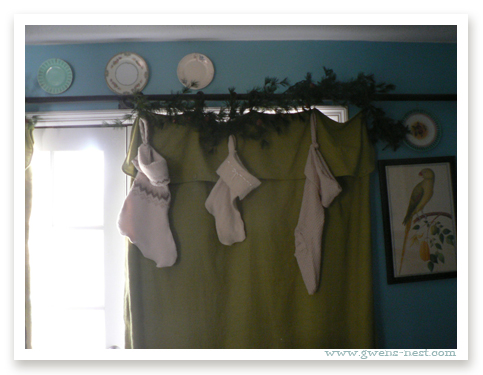 We have no fireplace, so our tradition is to hang the stockings on the curtain rod in the dining room. It’s a nice, long spot, and it was a little boring with just the garland. I wanted the curtains to be usable (we open them each morning and close them each night), so I cut the garland in half, and just looped and twist-tied some of the greenery sprigs through the wooden curtain rings.
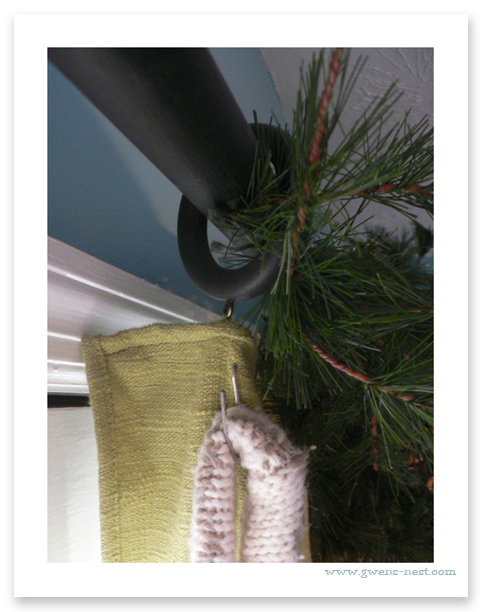
To hang the stockings, I bought a pack of drapery hook pins from Lowe’s (curtain aisle)…they were $1.49. They look like this:
The pin stabs down into the curtain, and the metal hook is perfect to hang the stocking from. The curtains are heavy duty, so they will hold the weight just fine. I possibly could have tied them onto the wooden rings as an alternative solution.
So there you have it…our lovely wool and cashmere Christmas stockings.
If you have a question that I didn’t cover in this DIY Christmas stocking tutorial, please ask in the comments.
Do you have something special and homemade to decorate your home for the holidays?
Or have you ever made something cool out of a sweater?

My favorite is the cashmere with ribbons. So feminine! That color combo in the dining room is just delightful. Good idea!
That’s Cate’s stocking. 🙂 She “likes the bow on it. I like bows, because they’re nice.”
Can’t wait to get to Sal. Army, where Wed. is half off on all clothing……planning on starting our stockings early this year! What a great idea!
Thanks, Joy! We’ve really loved these. I think next time I’d line them (maybe with velvet? I can usually find long velvet skirts). I think they’d last longer with a lining that prevents them from stretching so much. 🙂