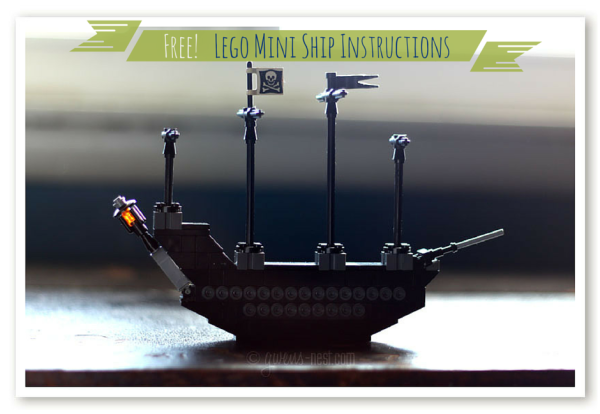
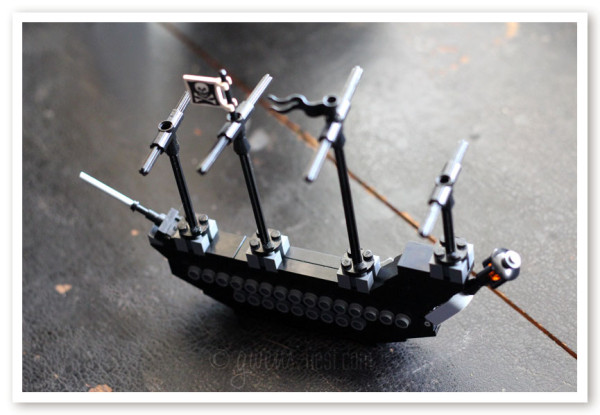
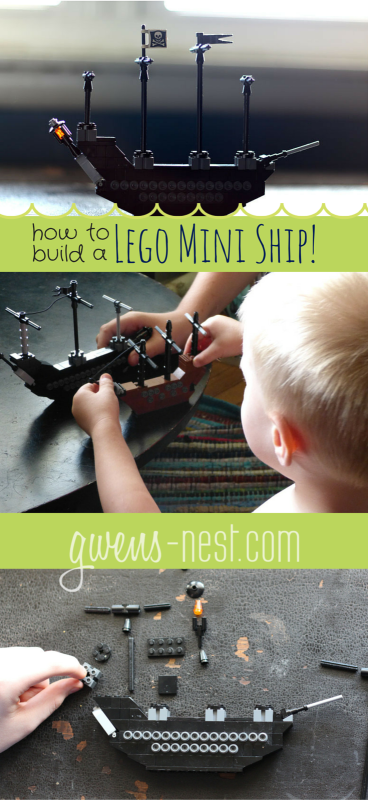
Today I’m sharing lego ship instructions so you can build this adorable mini ship! Isn’t this the cutest thing ever! These would be SO cute as party favors at a pirate or boat themed birthday party!
You can thank my Lego loving son for this design. I have a house full of lego enthusiasts and their tiny torturous tools, but when I see them playing and enjoying what they make, I’m all soft hearted and feel (slightly) guilty for vacuuming them up sometimes. (But not too guilty because they have THIS lego storage organizer so they shouldn’t be spreading them around the house.)
I think my son is almost a genius with what he can create with Legos. He designed these ships to help distract his younger brother from the big gorgeous Lego Pirate’s of the Caribbean ships that he built and has hidden in the back of the basement. My destructive little Viking dude isn’t allowed to touch them, but these little mini ships are right up his alley.
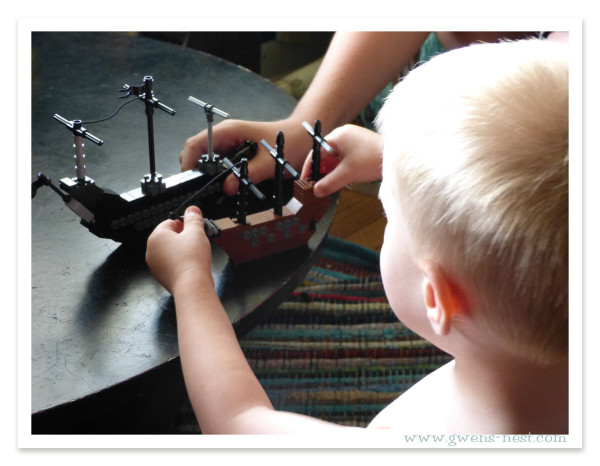
Sadly, the mini ships didn’t stop this dude from creeping out of bed one night and going down into the depths of the basement ANYWAY – breaking through the duct taped, super glued toddler door knob cover- to play with the big Lego ships. I found him at 3 AM with a fully melted tub of ice cream (from the deep freezer) and a busted up ship. I don’t even want to know how long he’d been down there. Can you see why we call him the Viking? 🙂 He’s sort of great at raiding and pillaging.
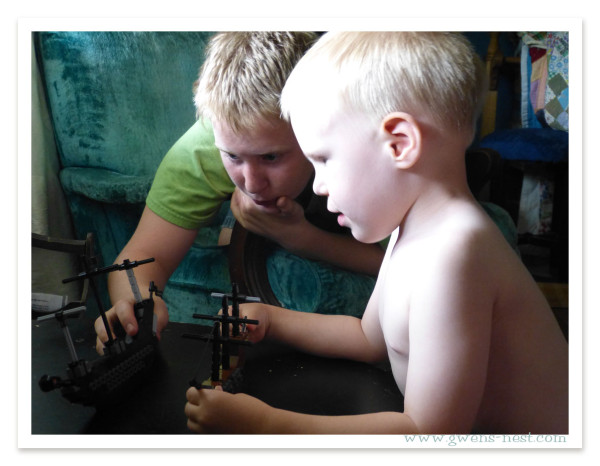
These two loved having sea battles, and the ships are simple and sturdy enough that my older son was comfortable letting his brother play along. After field testing them, Cole made a few changes to the design to make this version even more sleek and sturdy.
Ready to build one? Let’s get started!
Free Lego Ship Instructions
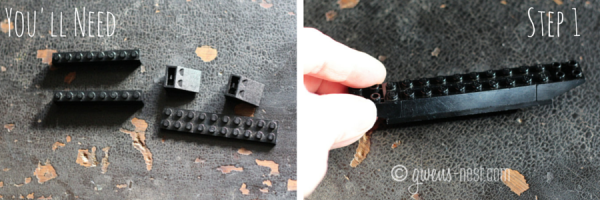
Here are ALL the pieces that you’ll need to build one ship: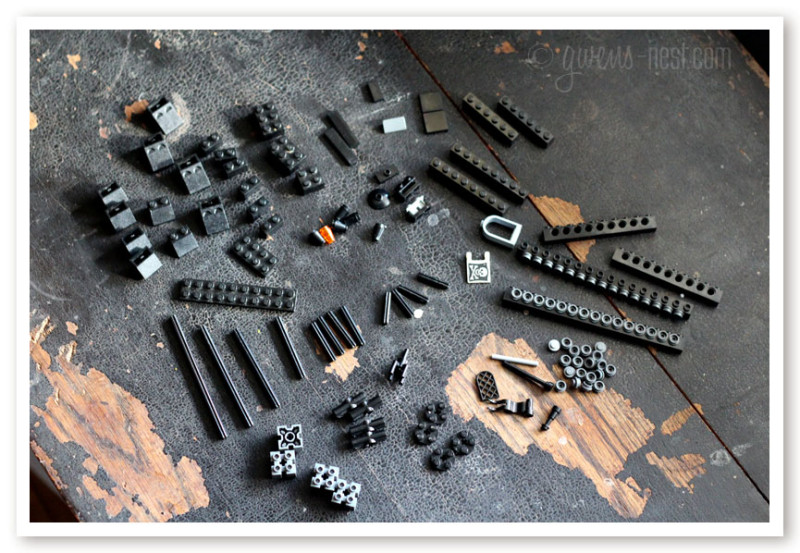
(Y’all this is my first Lego tutorial, and I’m not sure what to call the pieces so I’m just going to show them to you. It was hard to get good detail on the black pieces. But I’ll break down the piece list step by step as you follow along. And if you have any helpful tips for me in making future tutorials, please let me know in the comments!) ♥
Step 1: Create your base. (the 8×1’s are not flats…they are the normal height pieces.)
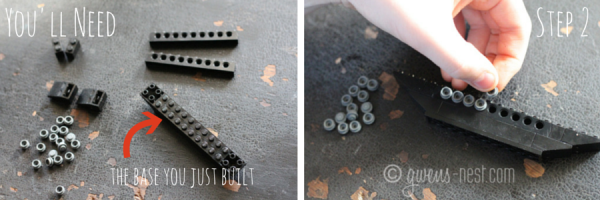
Step 2: We’re starting on the cannons.
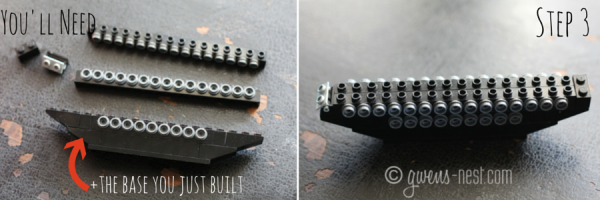
Step 3: Let’s add another row of cannons and build out the ends a bit:
Step 4: We’re finishing up the body of the ship and doing further shaping on the ends. It’s starting to look like a ship! Again, none of these are flats. 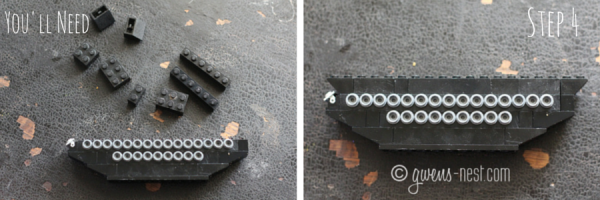
That’s the main body of the boat. Now we’ll do the detail work and get the masts on. You’re almost done!
Step 5: In this step, we’re adding the cool window and the base for the masts. I’ll show you a good overhead view next so you can see where everything goes. The smooth black pieces are flats, and the gray smooth is a wedge.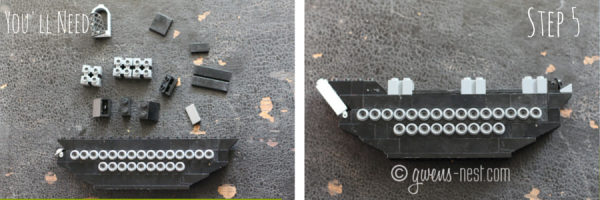
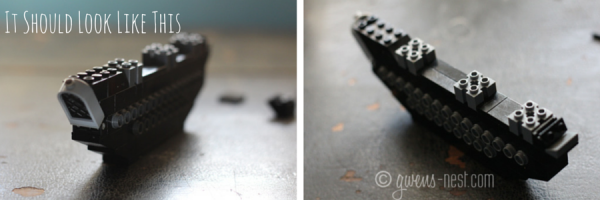
Step 6: The Mast Bases and the…pointy thing? 🙂 the bow? Help me out here.
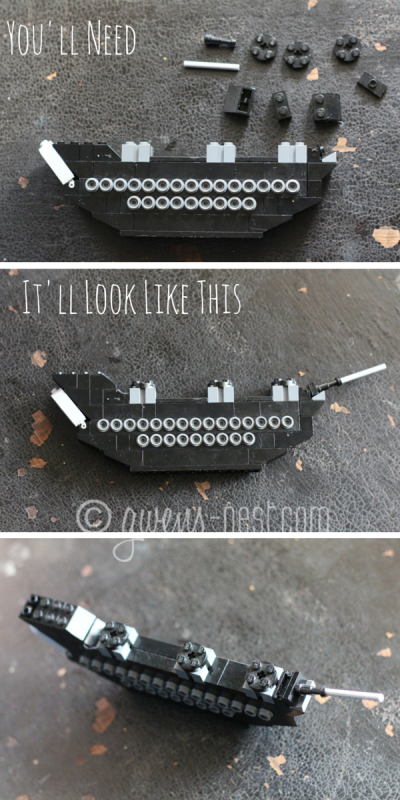
Step 7: Assembling the Masts & Lantern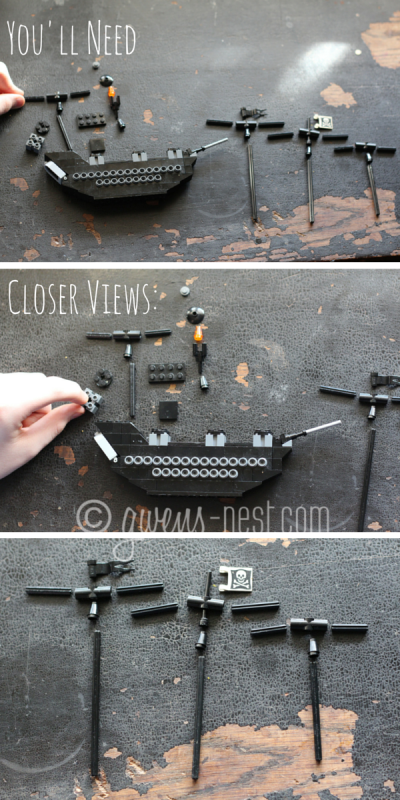
You’ll push all the mast pieces together securely…
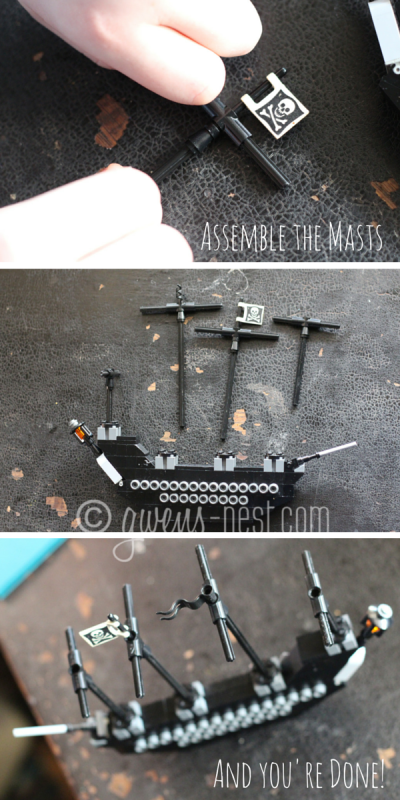
Yay! You did it! Now you want to build another one, right? So you can have a proper sea battle with the little Viking in your life. 🙂
You can leave Cole a comment or suggestion for a future Lego tutorial and that would rock his world. 🙂 He’s already got some cute Robots that he’s designed that will be coming up soon!
Cole! This is so fun – I am going to share with my 7 & 8 year old boys so they can build these too! Thanks for sharing your creativity and hard work!!
(Is there any chance you could turn off ads for future Lego posts? I don’t want my kiddos accidentally swiping through to external sites as they scroll through the instructions if I leave them with my phone – or at least keep the ads away from the tutorial part?)
I can have them turned off for this page…great suggestion! 🙂 Hope they have lots of fun!