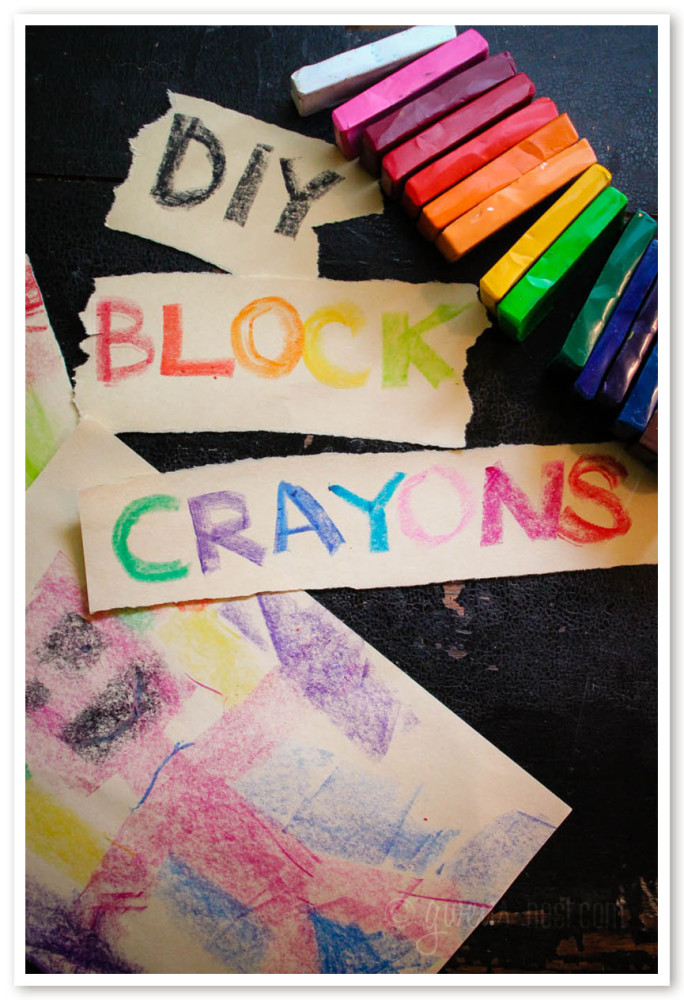
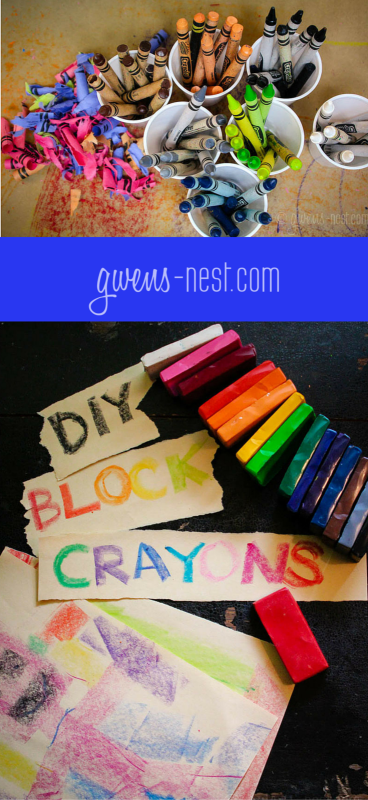
Last year, block crayons crossed my radar as I was gathering supplies for my preschooler. I’m a *sucker* for the beautiful, natural inspired Waldorf toys, and these crayons are what they use in Waldorf Kindergartens. Block crayons are great for small hands, and the children are encouraged to cover the whole paper with color.
I was intrigued, but NOT intrigued enough to pay over $20 for a set of beeswax block crayons. (affiliate link) Not when I can buy a box of 24 Crayola crayons for .50 at back to school sales.
But of course, that got me thinking: could I MAKE these for a fraction of the price? I always have a stash of extra crayons that I tuck away during the back to school sales. My Mom was an art teacher, and we used to make crazy crayons out of our old leftovers…so I felt certain that it was going to be doable. Turns out, it’s really easy to make your own block crayons!
[bctt tweet=”DIY #waldorf crayons for $2! My preschooler LOVES these. https://gwens-nest.com/?p=6967″]
Here’s What You’ll Need
- standard size crayons: I bought about 4 boxes of the super cheap Crayola 24 color crayons. Each chunky block crayon requires 8-9 regular sized crayons, so I blended a few of the colors, and made up the rest from our crayon scrap bucket from last year.
- a heat source: crayons melt between 120 and 150 degrees. I used a bottle warmer to melt my crayons, and small plastic cups so I didn’t have any clean up.
- a mold: to make your block crayons.
- optional: an xacto knife to make the peeling process LOADS easier, and wooden popsicle sticks to stir your wax.
My total cost in this was about $2!
The thing that had me stumped was the shape. I couldn’t think of any type of mold or container that was the right shape. I looked at soap molds and storage containers…all too big. I looked at ice cube and candy molds…all too small.
And then the solution presented itself and it was already in my desk drawer:
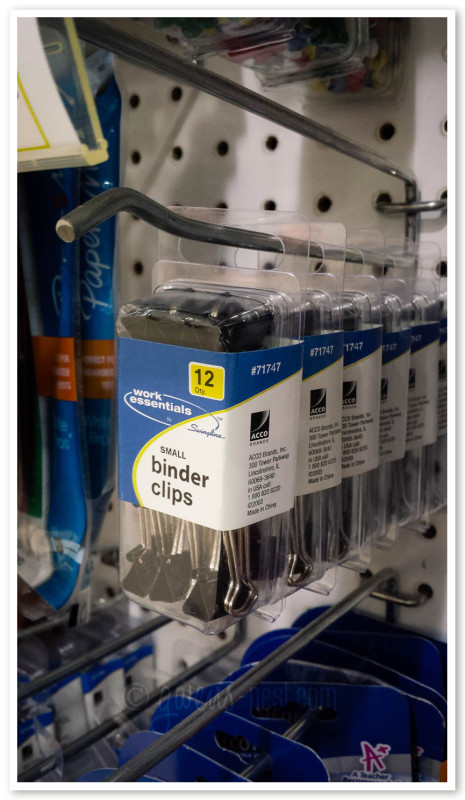
The little plastic boxes that hold office supplies are the PERFECT size for block crayons! With our supplies all in hand, we went to work!
How to Make Block Crayons
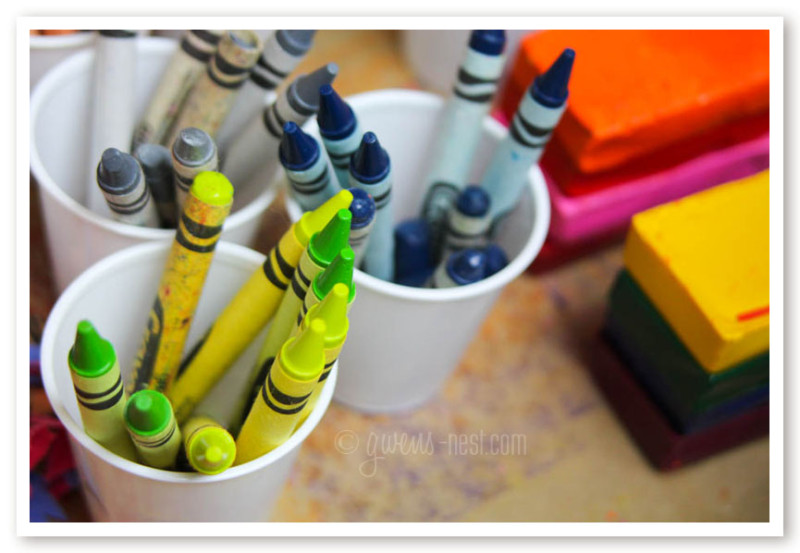
 Step 1: Pick your colors.
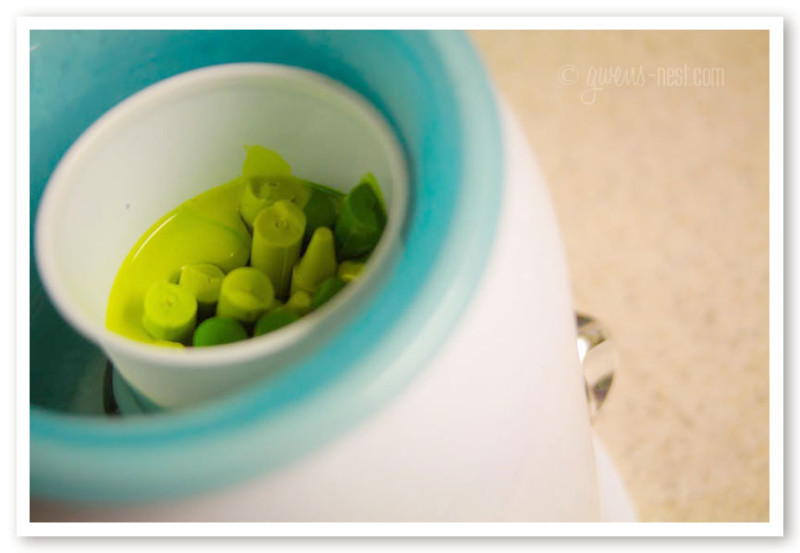
Each one of my block crayons used 8-9 standard sized crayons to fill the mold. Depending on the size of your mold, you may need more or less. I didn’t have 8-9 of the exact same colors for many of the ones I wanted, so I just mixed and matched the colors that were close and raided last years crayon bucket to make up the extras. Each color was placed into its own little plastic cup and waited its turn in the melter. 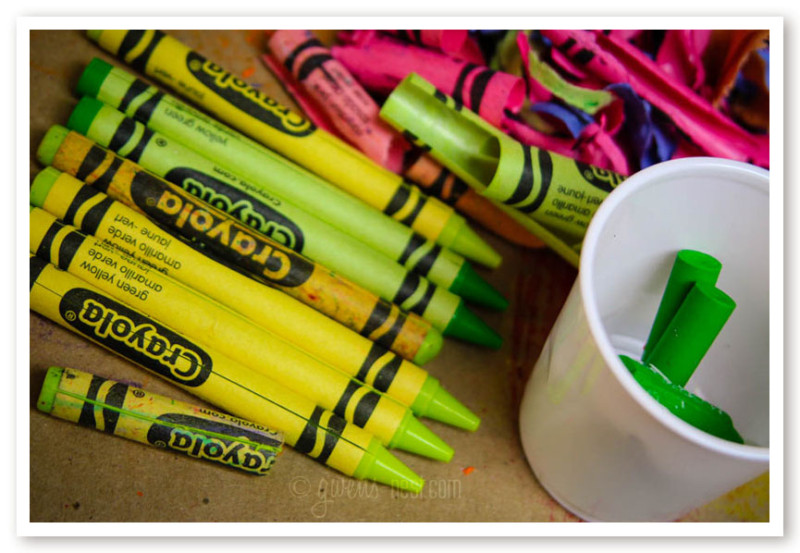 Step 2: Peel your crayons.
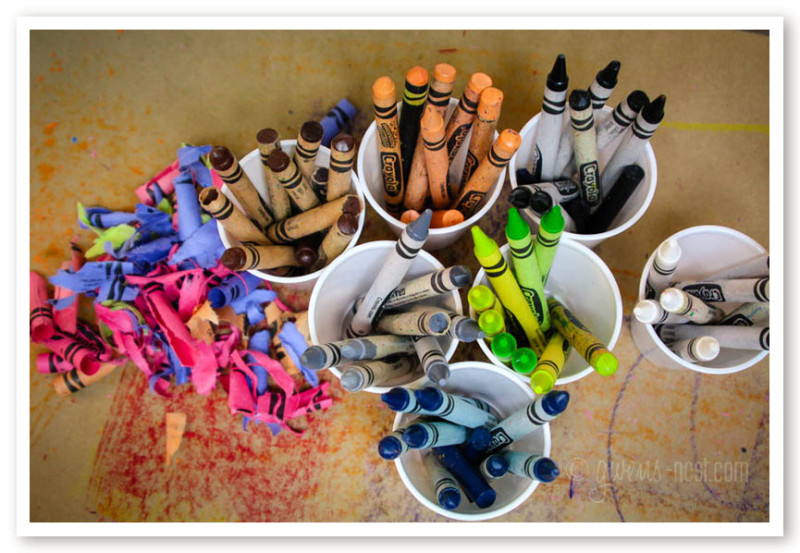
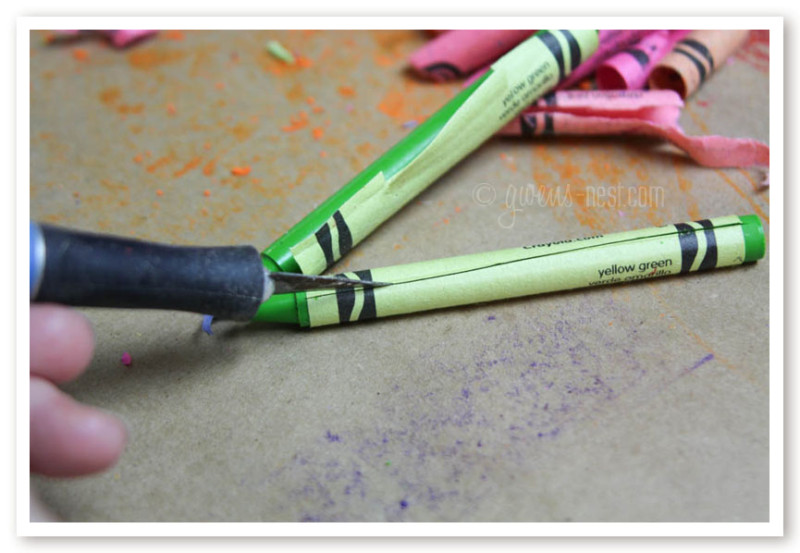
This was a team effort, and it was tedious because Crayola is SERIOUS about gluing those wrappers on with lots of glue! We got tiny shreds at a time, and it was taking forever. Until it occurred to me to grab my X-acto knife and just slice through the papers.
 |
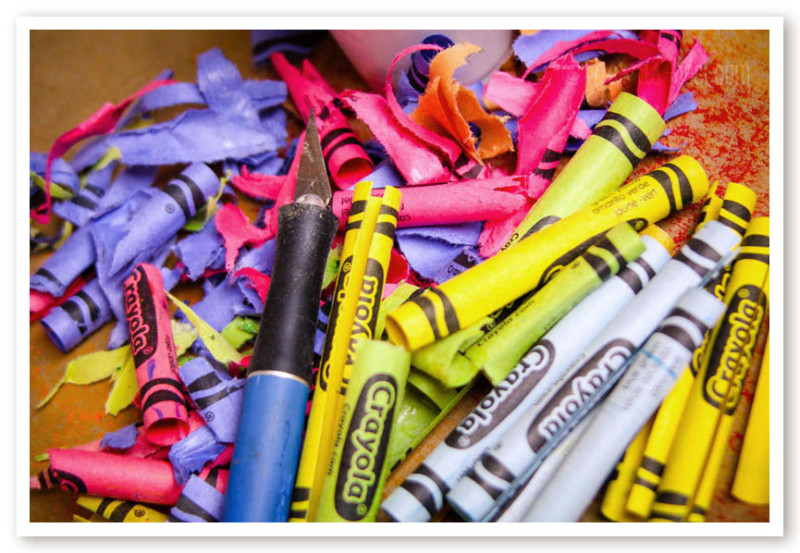 |
After I figured out that trick, I became the official cutter and the kids were able to take the papers off easily. We blazed through the piles of crayons!
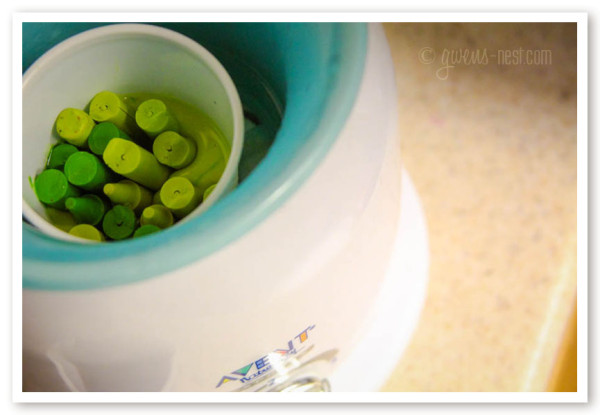
Step 3: Melt your Crayons!
I used my handy (Thrift store purchased) bottle warmer that I often use for making things like herbal oils and salves. I put it to good use for this little project, and it worked beautifully. If you don’t have a bottle warmer, you can melt the crayons by putting them into a low oven, or a crock pot (with a little water in the bottom) or even in a microwave.
 |
 |
 |
|
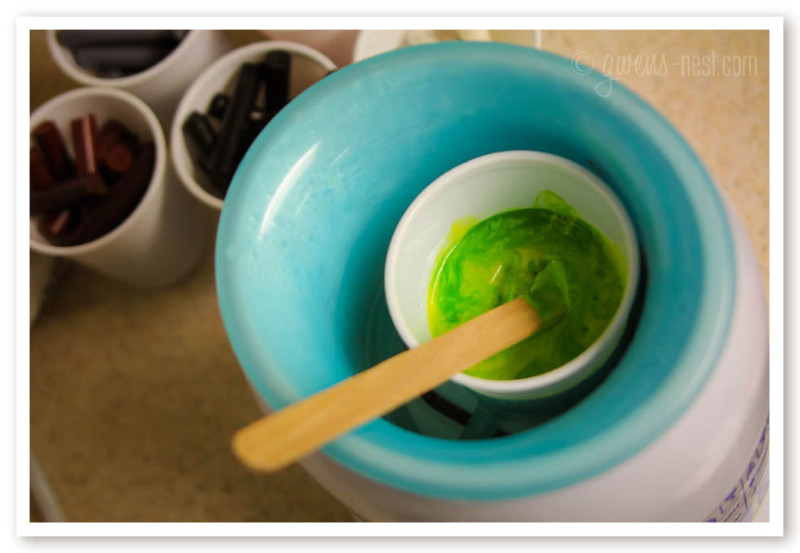
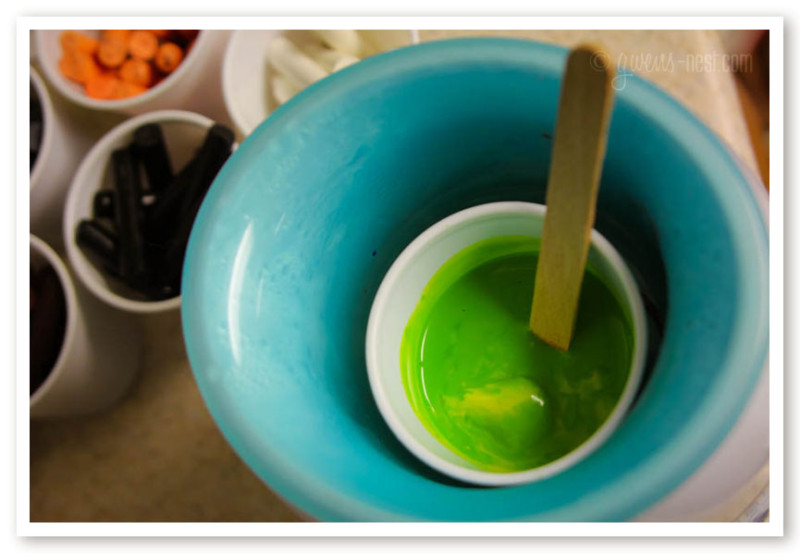
I used wooden popsicle sticks to stir and blend the colors, and to make sure that all of the wax was melted. This one is almost ready!
Step 4: Pour into your mold.
Or have your 4 year old do it…to the best of his ability. Bless his heart. He was SO excited to help make his crayons!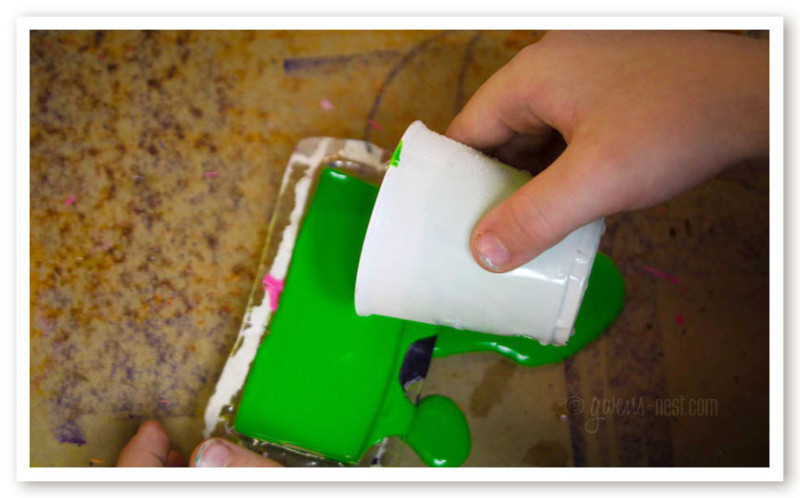
I used the same mold for every color, and the crayons just pop out cleanly when they’re dry. It just took a few minutes, and by the time the green was dry, my next color of wax was nearly melted and ready to go in. 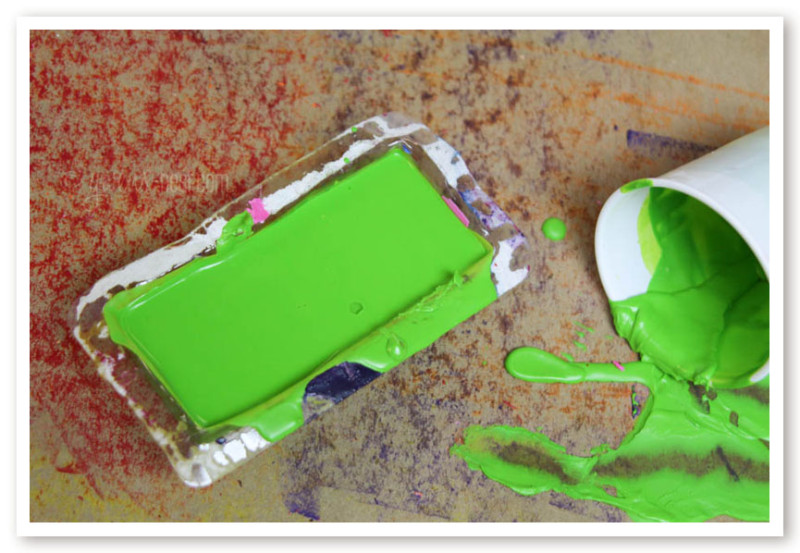
After removing the crayon from the mold, you can use a butter knife to tidy up those top edges if you like. We had fun scrubbing down the edges on some brown paper to make them nice and smooth.
P.S. Using the bottle warmer, the wax was hot but didn’t burn, and popped off of skin almost instantly as it cooled. So I felt safe allowing both of my kids to help with this project.
[bctt tweet=”Making block crayons was a really fun (and cheap!) afternoon project https://gwens-nest.com/?p=6967“]
We LOVE Block Crayons!
Making block crayons was a really fun (and cheap!) afternoon project, and the kids were SUPER excited to use them.
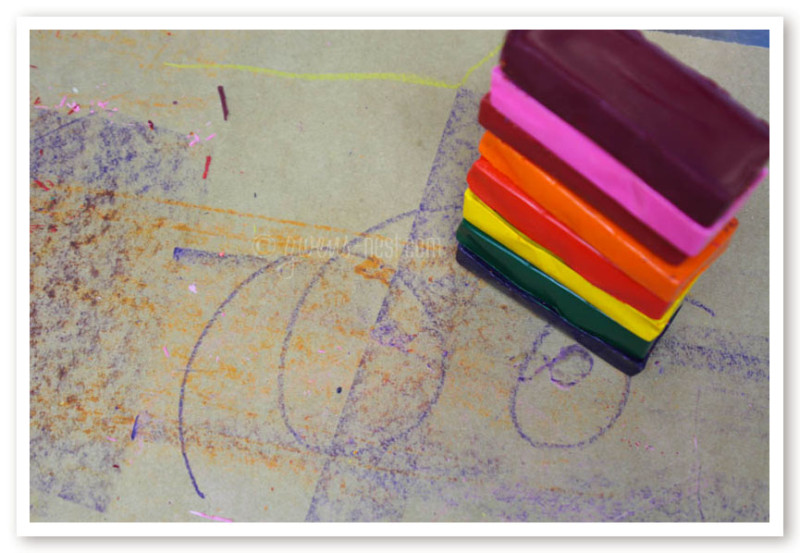
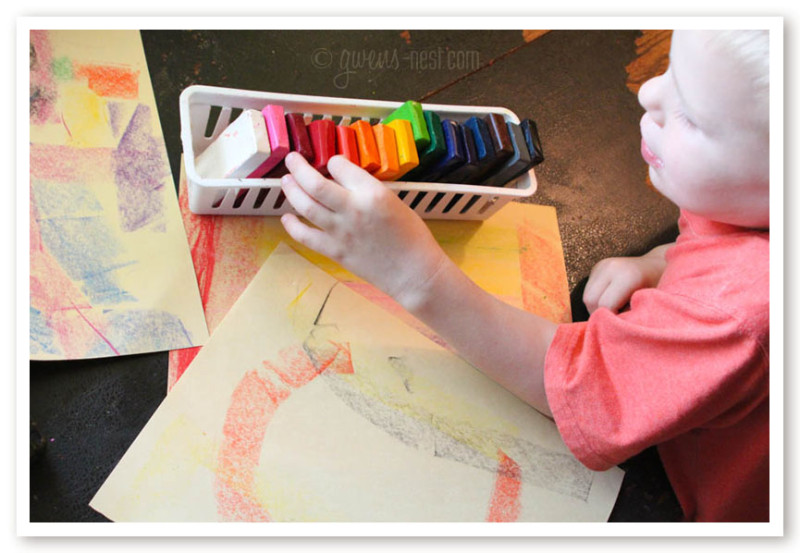
We stacked them in this little organizer basket, and both of my younger kids (then 6 and 4) had a blast coloring and drawing with them.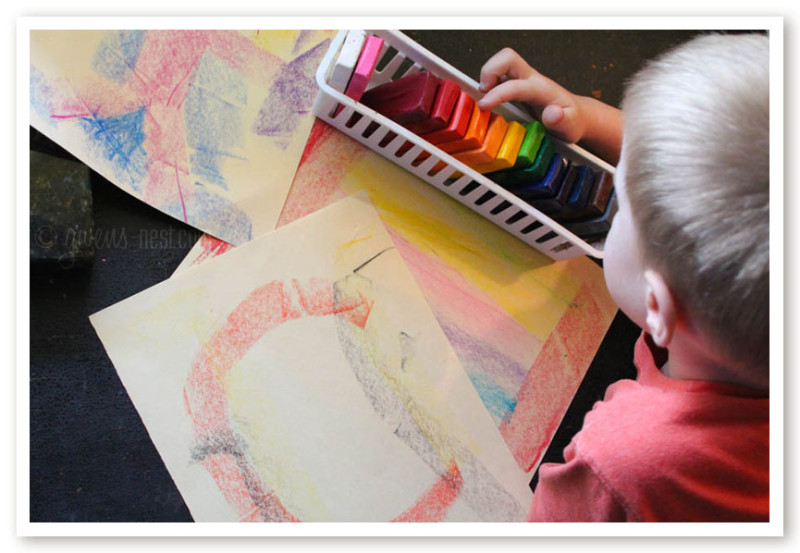
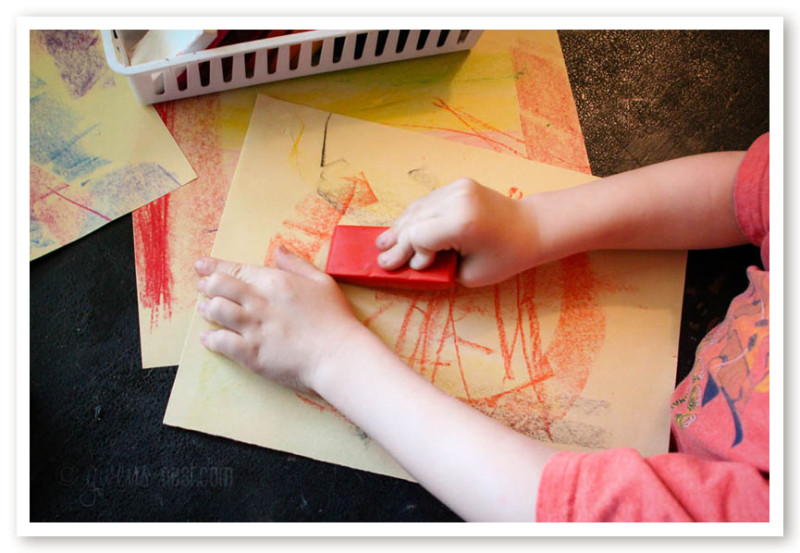
My youngest made a BIG letter on his page with the short side of a crayon…
and then used the corner to draw skinnier lines.
My girlie was a little more skeptical. Since we’d made these for the preschooler, she felt like they’d be too babyish. She started out with just a border…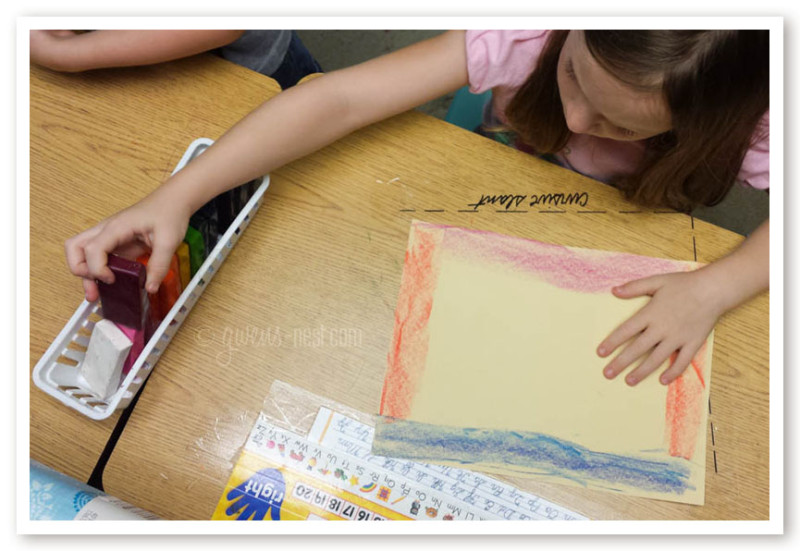 but then drew a page full of colors in just minutes. This was FUN!
Then she went on to draw this awesome robot!  She enjoyed playing with the crayons to create shapes: squares, rectangles, and she even swirled one around to make a circle.
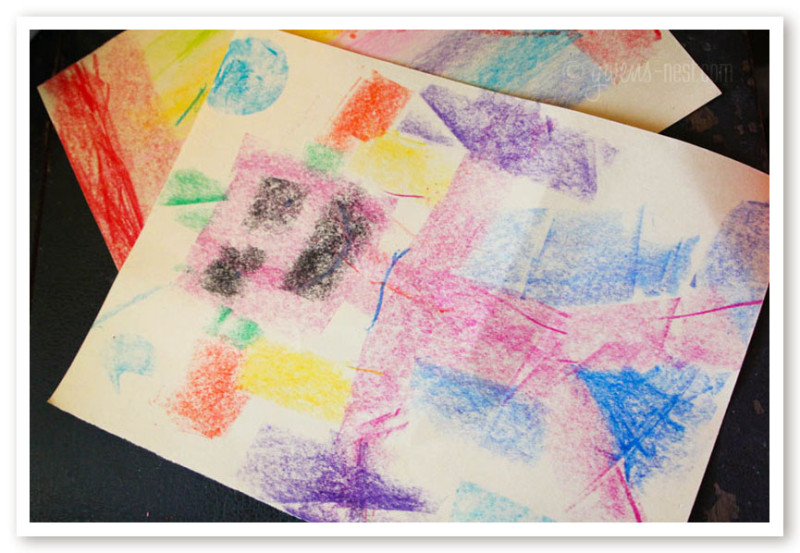
My kids both love to draw and color, and they’ve enjoyed using the block crayons along with their regular crayons all year. They love these for adding in backgrounds, sky, water, and just getting BIG color on the page quickly. In fact, they’re scattered across the desks right now from a drawing project earlier today. The block crayons have held up really well, and are super sturdy!
I highly recommend this DIY project if your kids enjoy coloring. Have you ever used block crayons? Do you think you’ll give this a shot?
Follow me on Pinterest and never miss a project!
Follow Gwen’s Nest
Follow Gwen’s Nest’s board Gwen’s Nest Creative Home Ideas on Pinterest.
I really hope to make these. Looks like so much fun.
Thanks Nikki! 🙂 I hope you get to make a set!
These look like SO much fun! Wonder if my 24 year old son would like to help me make a set… LOL (Oh how I miss having little kids around…)
Adult coloring books are a new thing, so…maybe! 🙂 Ha! And if he doesn’t appreciate them then maybe you can use them. 🙂 Do you have little children in your community or church? I love when others enjoy interacting with my kids.
How fun – and creative! I used a silicon brownie mold for mine. I didn’t pre-melt the crayons, I just broke them into small bits. The results were a marbled effect. Now that I’ve seen yours, I’m tempted to start dumping office supplies out 🙂
This is such a great idea! My two-year-old grandson breaks his crayons and this might be the perfect solution. Will be going shopping for crayons!
Yay! Hope he loves them! 🙂
We used to melt wax in a cheap thin pot on an old coffemaker burner. chunky crayons sound like a great gift for a preschooler and I can try them out too 😉
Smart tip, Cathryn! I have a cheap little pot that I picked up at the thrift store that I use for melting wax for my herbal recipes. I bet you could also use aluminum throw away cupcake liners for crayons!
I had the idea today to make a crayon with many colors of blue, so the kids can use it for coloring water.
Thanks for this fantastic tutorial! I do have a big warning, though. I bought some crayons to do this with last night, broke up some red ones and put them in the microwave. After 10 minutes, there was no melting whatsoever. I looked up online about melting crayons in the microwave and I found out there are some reports of this ruining microwaves. Apparently, for some microwaves, it is like running the microwave with nothing in it. Just thought your readers might want to have that perspective before using their microwave for this cool project.
Thanks so much, Christine! Another reader suggested using the hot plate on her coffee maker to melt crayons in a small heat proof container.
What are the crayon dimensions, approximately? And did that size seem good for your kids or would you recommend a different size?
Hi Gwen!
Off the top of my head, I’m going to guess 1 1/4 wide, by 2 1/2 long, and a little over a half inch thick. They really like this size. I would not go thinner because they would be more prone to break. You could go narrower (around an inch) and maybe longer (between 3 and 4 inches).
This project has become a disaster for me! Help!!
I’m using a little plug in pot. If I use plastic cups they melt. If I lower the temp the crayons do not melt. So in order to melt the crayons, the cup melts. How did this not happen to you?
If I use glass it takes a very high temp which in makes it hard to hold, pick up, pour. Then cleaning it out is difficult all while wax is going down my drain to eventually harden.
Help! Any ideas?
The two we did with a scary melted cup and hot glass are great. We really want to finish them!!
Hi Mandy,
Are you using water in the hot pot? The bottle warmer uses water to give a gentler heat that didn’t melt the cup. And EEK on the melted wax in the drain! My husband would have croaked.
Try adding some water to the pot and setting the cup down in it so it’s more of a double boiler approach. SO sorry you’re having problems!