A good coconut yogurt recipe became a necessity here when my husband went on a short dairy free diet plan from our doctor. Greek yogurt had been a great fast breakfast and snack, so he was sad to lose such a creamy, convenient and delicious snack.
I knew that you could buy coconut yogurt but after checking the price *ahem* I decided that I was going to attempt to make it. How hard can it be, right?
[bctt tweet=”After checking the price on coconut yogurt *ahem* I decided that I was going to attempt to make it. #dairyfree #recipe #coconut” via=”no”]
Ha! Turns out, coconut doesn’t culture like milk does. I repeat: coconut cannot and does not culture to create thick creamy yogurt like milk does. On one hand, I knew it *could* be done because they’re selling it. And on the other hand, I’ve tried about 3,261 different homemade yogurt recipes and have a special gift of ruining yogurt. So maybe this rebel-yogurt would be the ticket for me?
I started researching and found that most of the recipes out there for coconut yogurt are too runny. I wanted a yogurt with nice body that was creamy and similar in texture to normal yogurt.
By jove…
I think I’ve done it! I tinkered around and combined ideas from different recipes and threw in a dash of inspiration, and a tablespoon of gelatin and voila.
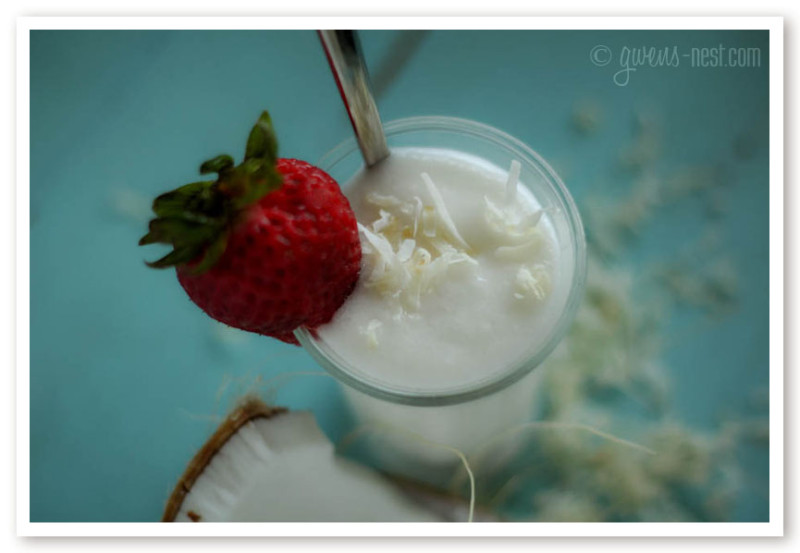
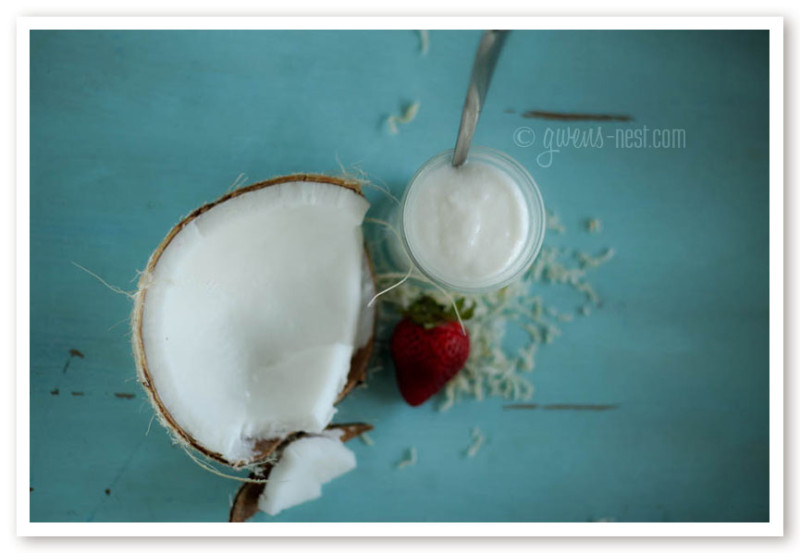
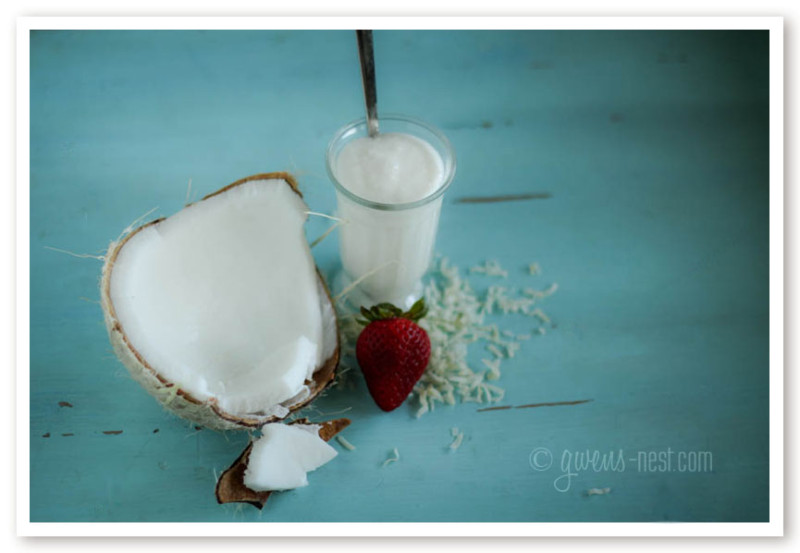
Coconut yogurt.
 And it actually was VERY easy. Although it’s a two step process to get it perfectly creamy, both steps take just a few minutes, and this makes over 6 cups of yogurt.
To start, I took a cup of homemade coconut milk. You can just as easily use the store bought cartons from the refrigerator case. The store bought coconut milk looks a little odd at the end of step one as you’ll see, but the end results are identical.
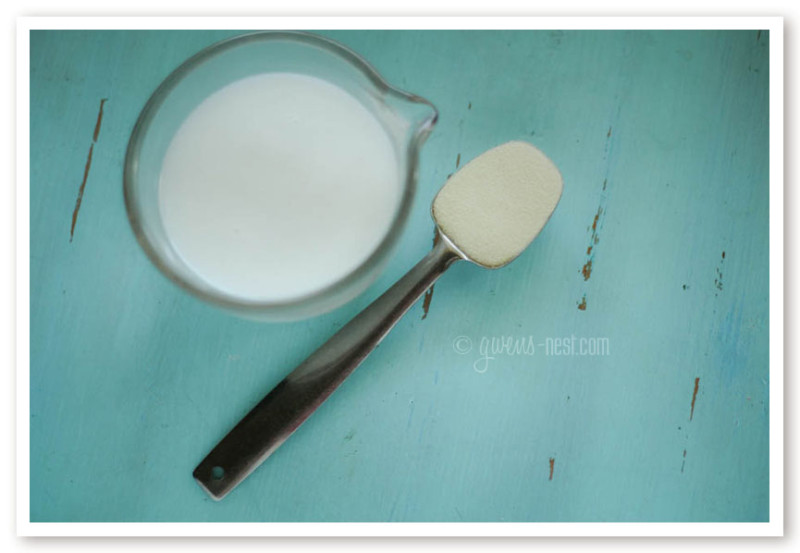
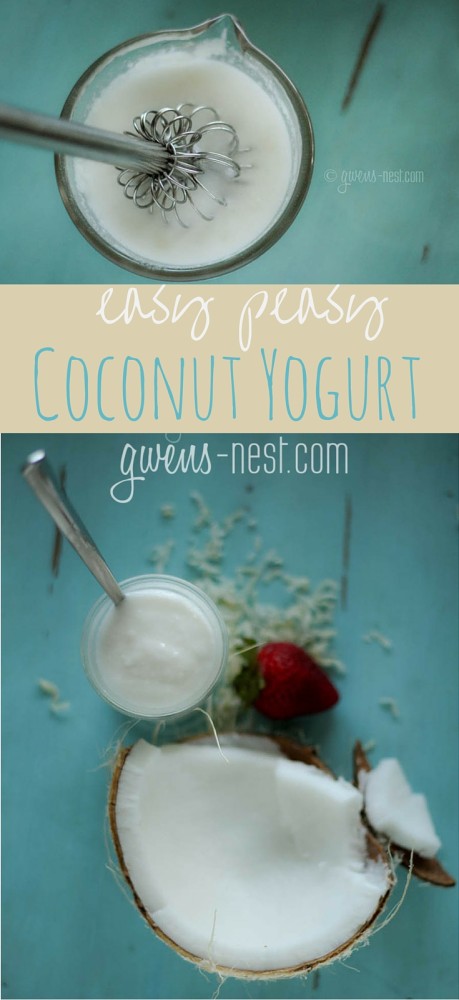
I added one tablespoon of gelatin. This is the brand of grassfed beef gelatin that I like. Sprinkle the gelatin over the top of the coconut milk and let it “bloom” (hydrate). It’ll look like this: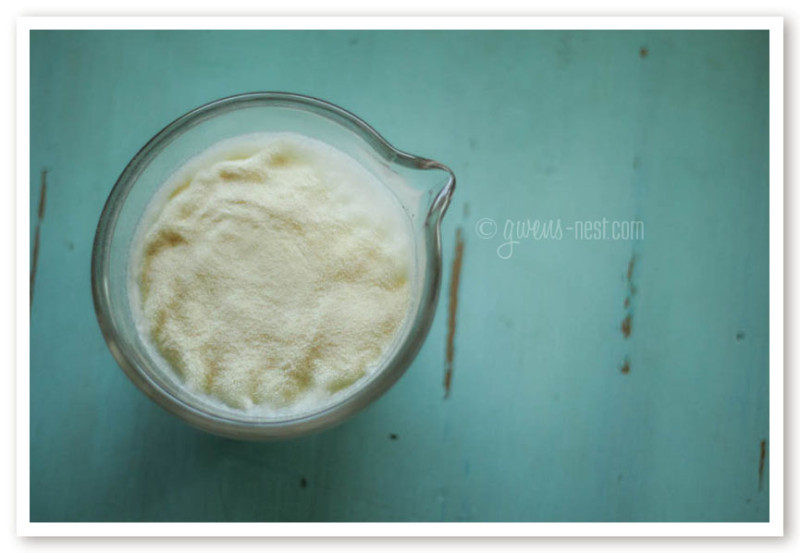
Meanwhile, warm up 4 more cups of coconut milk to a low simmer. 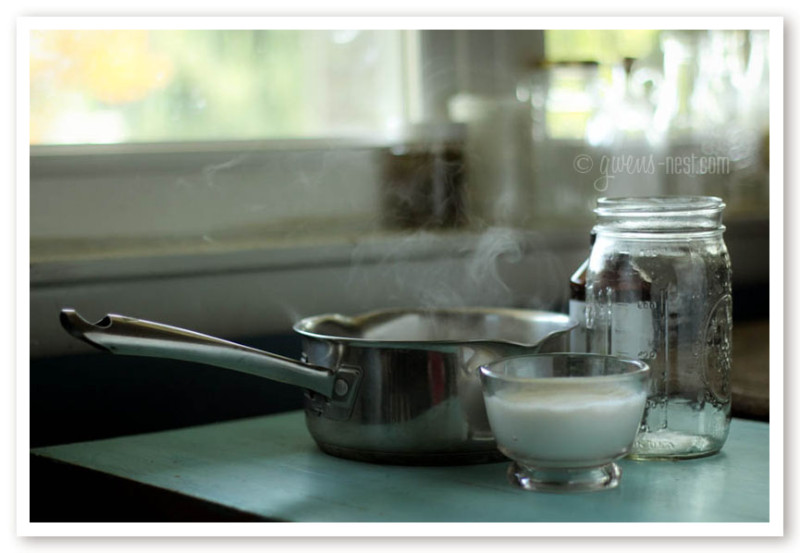
Gather a container that can hold maybe 8 cups of liquid. I used two canning jars. I also added some vanilla. Next time I’m going to go ahead and sweeten it at this stage. But I haven’t tried that yet. 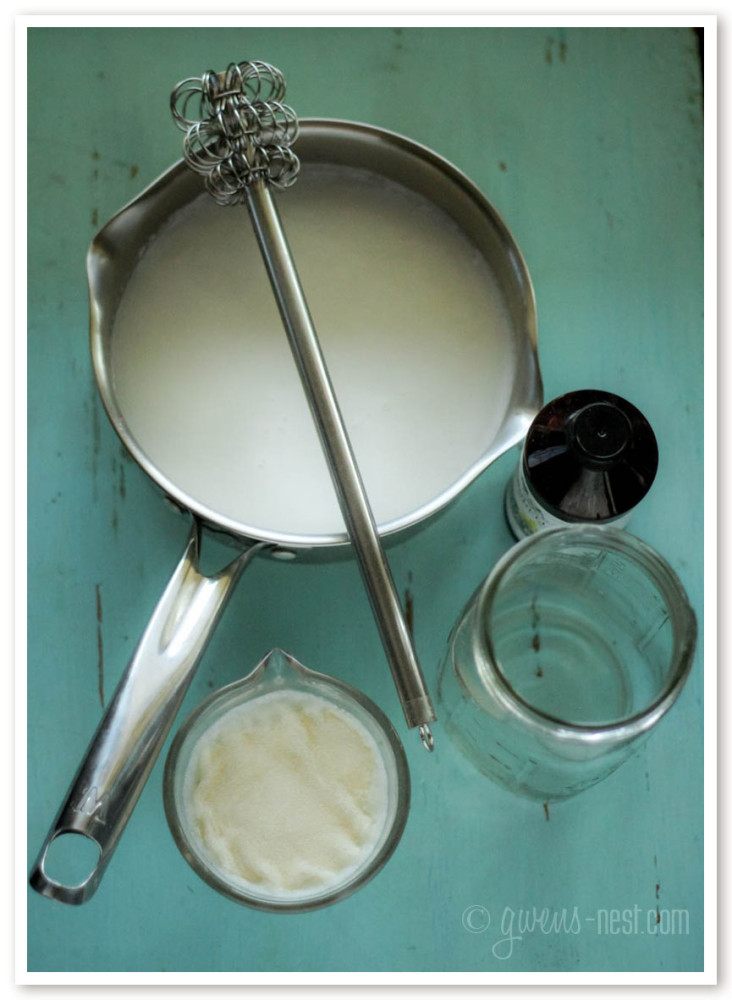
Whisk the gelatin to get most of the lumps out. If you have a few lumps, don’t sweat it. We’ll have it perfectly creamy-dreamy in step 2.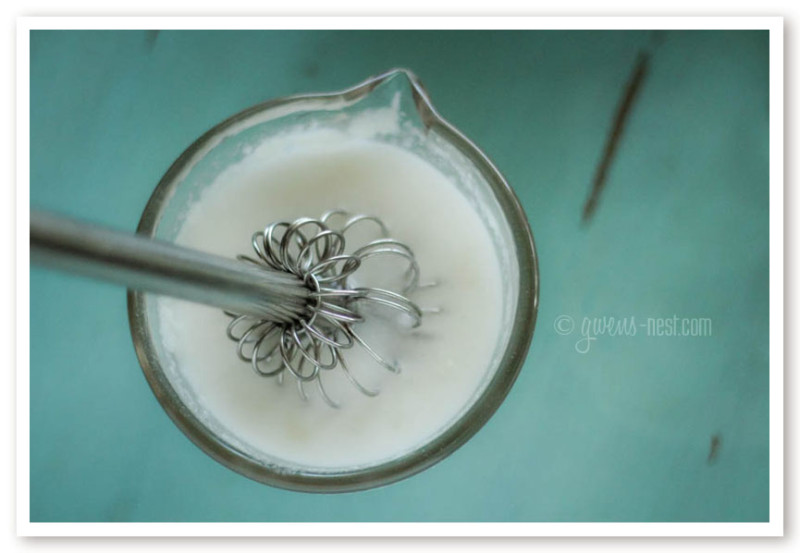
Add the cold gelatin mix into the warmed milk, whisking to blend in. See…mine isn’t lump free either. 🙂 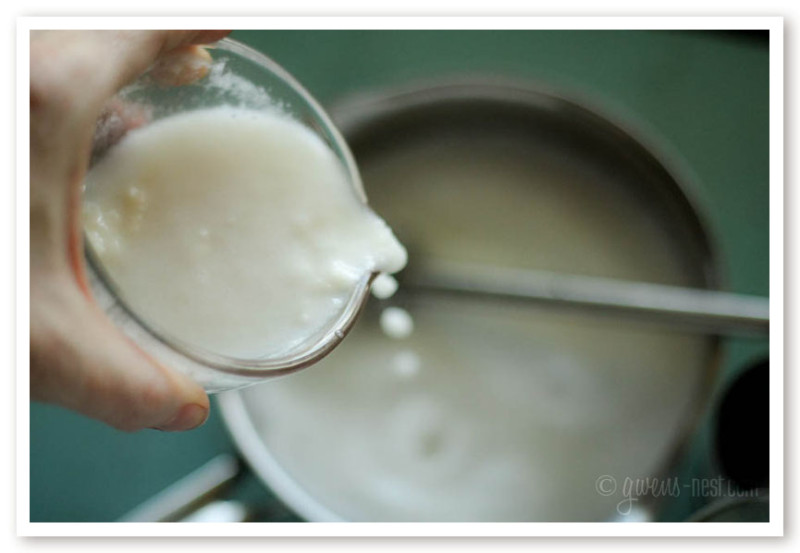
Add a teaspoon of vanilla and whisk in, and pour into your jars. 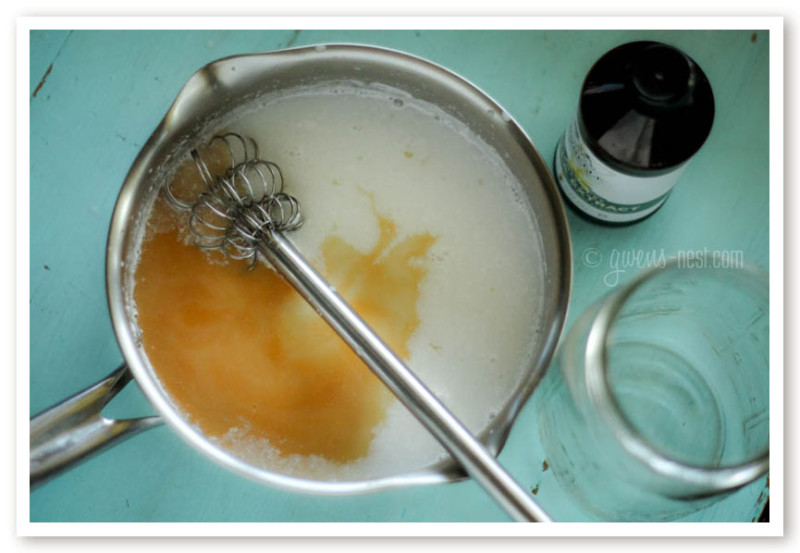
I filled my jars to around the 2 1/2 cup mark. We’re going to add another ingredient in step two PLUS bring out the power tools, so we want some headspace in there.
Put the lids on and chuck the container(s) into the fridge and let them set up. You’re essentially making coconut gelatin. Which admittedly is a little creepy and not exactly what we’re going for texture wise, but wait for the magic of step 2!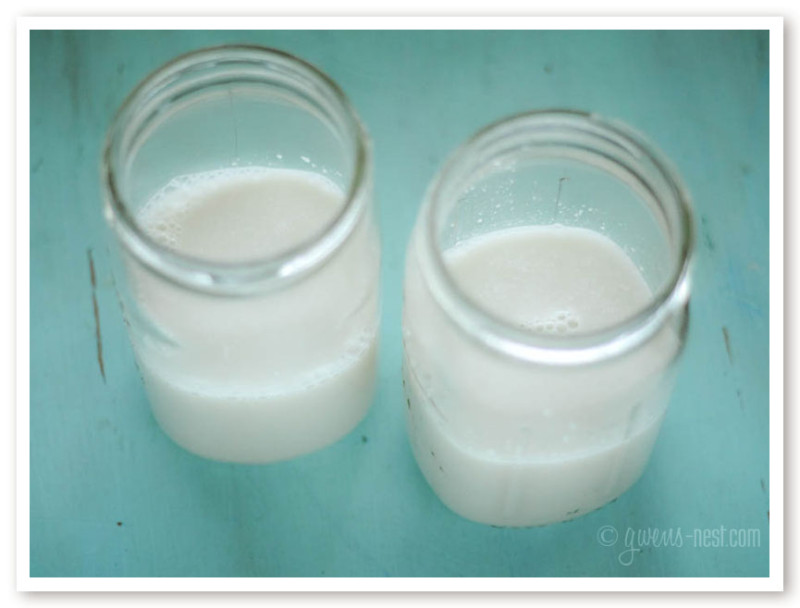
OK, so we’re ready for step 2. Remember how I said that if you use the carton milk that things can get a little weird? Behold: see how there is a clearish layer and then a white layer on the bottom? Separation happens during step one when you use carton milk. BUT it’s totally no big deal. Think of this as the awkward adolescent stage of your yogurt. It gets prettier any minute now.
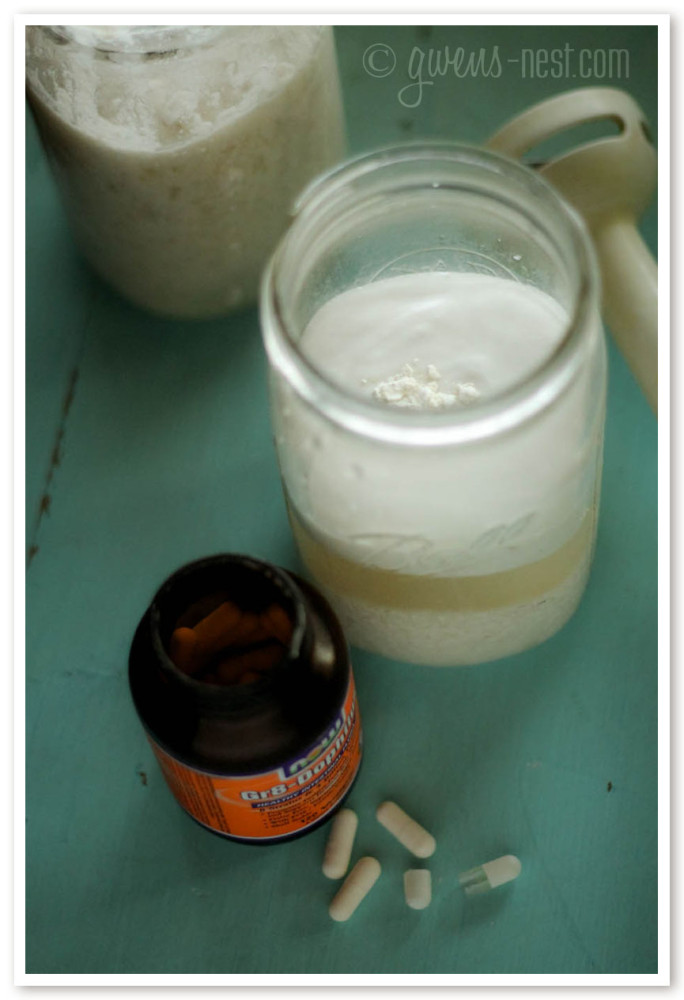
In step 2, we’re going to make the magic happen by adding half of a can of full fat coconut milk into each jar, and probiotics if you’d like! I added 2 capsules of probiotics to each jar… 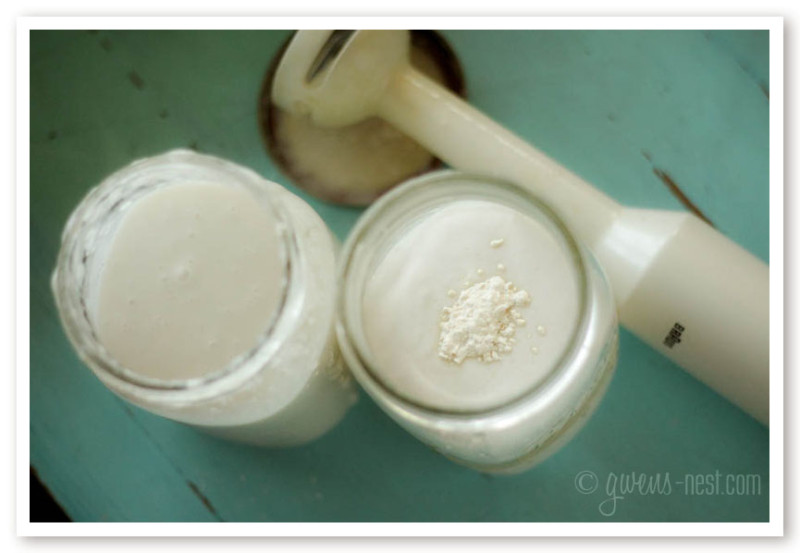
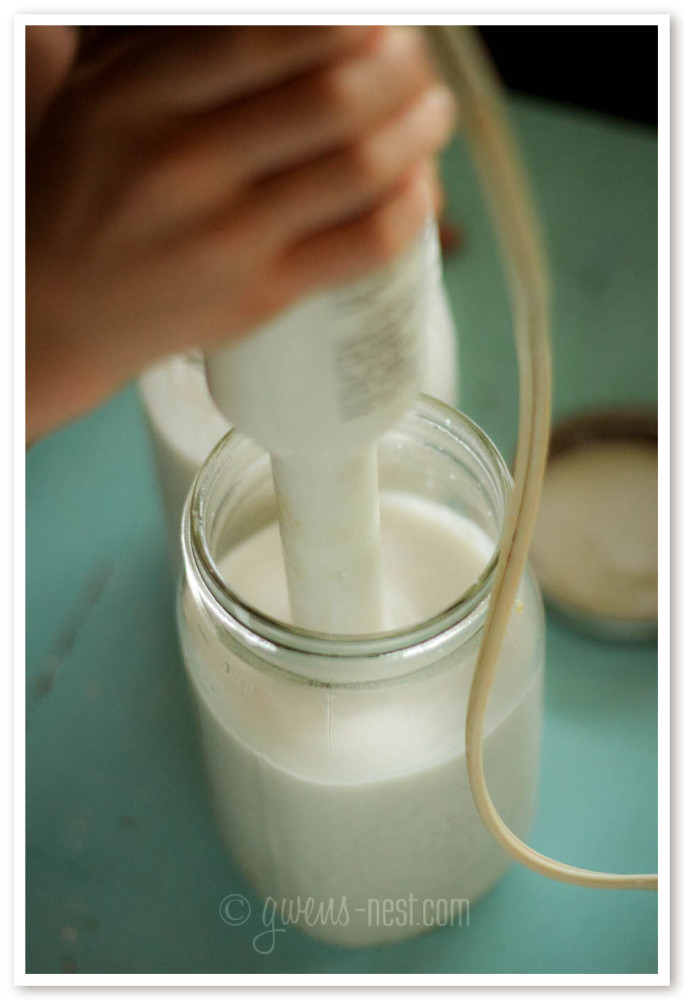
And then we’re going to bring in the power tools. I love and adore my hand blender, and have used it for years and years. I adore how I can poke it right down into my jar or pot, and get lovely smooth puree. I’m a power tool girl.
Tip– If you don’t have a hand blender, but you have a standard blender, then use standard mouth mason jars, and use this cool kitchen tip to blend your yogurt! You’ll need to hand stir the coconut milk into the gelatin first to loosen it up from the jar, and then you can blend it smooth.
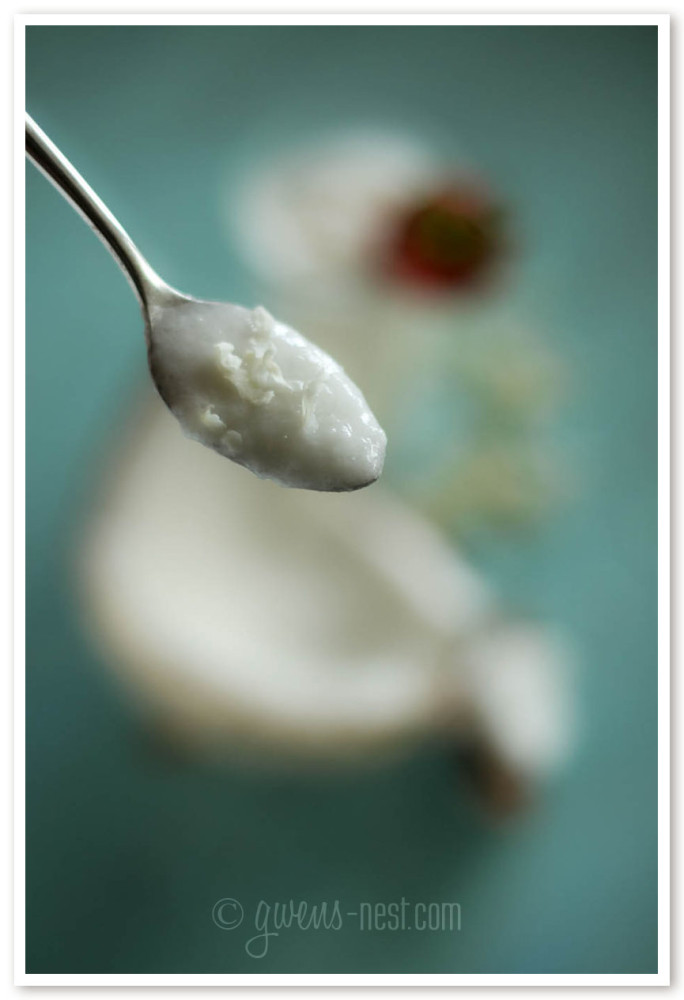
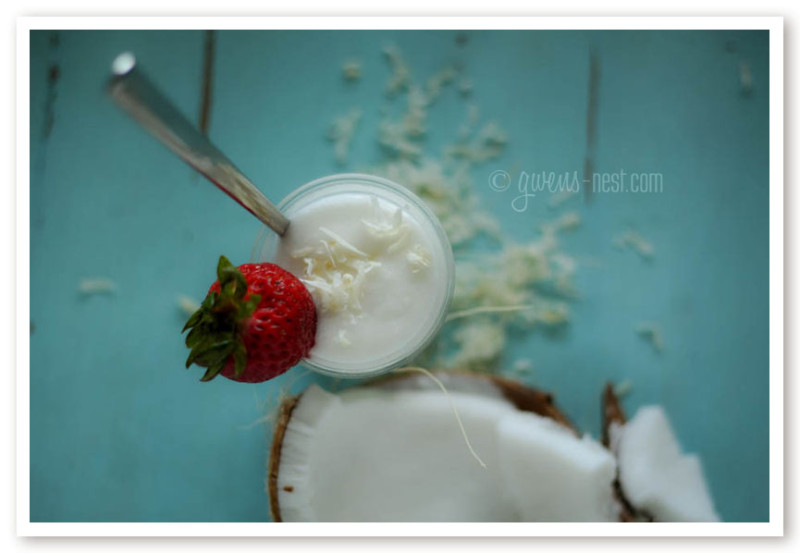
Magic. Pure lovely coconut yogurt-y magic. See how smooth & pretty it is! And it’s PENNIES on the dollar for what you pay for the store bought coconut yogurt. Ka-ching! (que victory dance) You can enjoy this lovely treat right away, but it will thicken a little more after chilling.
My man was very pleased and has enjoyed several batches of this new treat. It really does fill the gap for a creamy treat when you’re avoiding dairy. I’ve also used it in smoothies and recipes where I would normally use Greek yogurt. It’s more the texture of regular yogurt, so I use less liquid in the recipes to compensate for that.
So there you go. Coconut yogurt in two easy steps!
Your Coconut Yogurt Printable & Pin
- 5 cups unsweetened coconut milk-carton or homemade-lowfat
- 1 tablespoon gelatin- I like this brand that's grassfed beef gelatin!
- 1 teaspoon vanilla extract
- 1 13.5 ounce can full fat coconut milk
- 4 probiotic capsules of your choice. (I use this brand)
- Special tools: immersion blender or regular blender
- PHASE ONE: Measure out 1 cup of the unsweetened carton or homemade coconut milk into a small bowl. Sprinkle the tablespoon of gelatin over the coconut milk and allow to "bloom" (hydrate)
- Meanwhile, heat remaining 4 cups of unsweetened coconut milk in a medium saucepan until just beginning to simmer. Remove from heat.
- Whisk gelatin mixture to remove most of the lumps, and whisk into the warmed coconut milk.
- Add vanilla extract and stir to blend all.
- Pour into two 4 cup containers or one 8 cup container. There should be a good amount of headspace left for step 2. I recommend using wide mouth canning jars if you're going to use an immersion blender, or standard mouth mason jars to use a regular blender.
- Cover and chill your jars until the coconut mixture is congealed. If you used carton milk, it may separate at this stage, but your finished product will be just fine.
- PHASE TWO: Once your yogurt is congealed, divide the can of full fat coconut milk between your containers, and add the probiotic powder.
- Blend with an immersion blender until smooth and creamy. Or alternatively, stir the gelatin mixture up by hand to loosen, and attach a normal blender base onto your standard size mason jar and blend until smooth.
- Chill and enjoy!
This recipe has lasted two weeks in my fridge, and it will begin to take on a nice yogurt-y cultured flavor as it ages.

Follow me on Pinterest and never miss a recipe!
Follow Gwen’s Nest
Follow Gwen’s Nest’s board Gwen’s Nest Healthy Recipes on Pinterest.
Thanks so much for this! So excited to try it. When you wrote out the recipe you wrote “5 cups of coconut yogurt” as an ingredient. Did you mean milk? Thanks again!!
Oopsie! Thank you for catching that. 😉 I *did* mean coconut milk.
Can you just pour into a blender container to blend? I don’t have a stick blender and just have a vitamix.
Sure! That should work just fine, and work quickly. 🙂
I just heat my coconut milk dissolve the gelatine in it let it cool before adding the probiotics then move to my dehydrator for 12-24 hours to become real yogurt. I then put it in the fridge and stir it up once to stop separation.Yogurt needs time to culture or it’s not yogurt. Your photos are beautiful, peaceful even.
Hi Helen! 🙂 It’s my understanding that since there is very little natural sugar in coconut milk that the probiotics really don’t culture it like regular yogurt. Although I’ve noticed a cultured yogurty taste develop over the course of a week or so in the fridge. I know that bacteria can grow, albeit more slowly, in the fridge, and since I’m adding a good amount of probiotics to the jar, I feel like it still packs a nice probiotic punch with this method.
Also, my goal was to make this recipe accessible for people who don’t have a dehydrator handy. But that’s a great alternative method! 🙂
If you added a teaspoon or two of sugar, like you would add yeast for bread, would that give the bacteria something to grow on? Then as the bacteria feed on it, isn’t the sugar consumed, and not adding carbohydrates? Just wondering if that would be a way to culture it.
Hi Doreen!
I’ve found that the yogurt does culture slowly in the fridge, and takes on a nice twang after a couple of days. 🙂 I don’t add sugar or anything to it.
Hi Gwen, thanks for the recipe. I might try it in my Thermomix. Can I use the green can of Great Lakes Gelatin Collagen Hydrolysate Unflavored Beef gelatin instead?
You’ll want to stick to the red can to get the thickening power of the gelatin. 🙂
Okay… Thanks Gwen!
If you want an added boost of gelatin, you can definitely add more of the green, but the red is necessary for thickening like I mentioned. 🙂
I’m hoping you can help me. I’m making this for my lactose intolerant son and really want it to work. I followed your directions exactly except I used sweetened coconut milk to start. It never congealed. I left it in the fridge overnight even but it’s still liquid. Do you think the sweetened milk makes that big of a difference?
Hi Jen,
I don’t think sweetener should affect it. Some forms of gelatin are not as potent as others…maybe heat it and add additional gelatin and see if it sets? I just watched a video about how the THM gelatin is a softer set than the Great Lakes or Knox brand.
Hi Gwen,
I’m hoping you can help me.
I too made your recipe with the only exception of using packaged unsweetened coconut milk.
The gelatin I used was the one you recommended.
The end result yogurt did not thicken.
Any recommendations?
Did you heat the coconut milk prior to adding the gelatin?
My daughter is in love with strawberry banana yogurt. Do you think that a few drops of extracts will taste ok in this?
She needs to go dairy free, so I’m definitely going to try this!
Did your husband use anything for cheese substitutes?
Hi Mary,
You could definitely use bananas and strawberry in this and flavor it any way you like! 🙂 I really like the Frontier line of flavorings. My husband did recently try a cheese sub, and said it was pretty good. I am thinking about trying the recipe for DF cheese in the new Trim Healthy Mama cookbook. 🙂
I have somehow missed the DF cheese in the cookbook. I’ll check it out. That might make a very happy little girl!
Hello! Did you successfully sweeten this at the end of the first step? I’m thinking about using honey but would that mess with the yogurt? I live this recipe! I’m making it for the fourth (?) time. Thank you for your willingness and love of experimenting! It’s nice having yogurt in the mornings again 🙂
Honey should work! I have so far kept it unsweetened, just because I wanted to use it in savory recipes too.
Really great recipe!, actually you have so many wonderful recipes!, that’s why I signed up for your newsletter/blog, but I haven’t been getting it lately, will you please send me your new recipes by email.
Hi Kelly,
I’m starting back the newsletter soon…I’ve taken an unplanned sabbatical, but am getting rolling again. 🙂
You mentioned there being a “twang” after being in the fridge for a few days. Is this similar to the cough:gross:cough “tang” I taste in yogurt? I can’t get past this taste to eat yogurt on it’s own. I can use it as a substitute for sour cream for most things and don’t notice a difference. But eating it by itself is completely different. I’ve even tried sweetening it, adding flavors, etc, but the smell and taste are just too much. I’d love to try your recipe, but I’m thinking I’ll taste that “tang” anyway.
If you dislike the sour-ish taste of yogurt, then leave off the probiotic optional step, and you won’t have the fermented taste. 🙂
Could you use full fat canned coconut milk for the whole recipe instead of cartoned? I can’t have the guar gum on AIP.
I would just use water in lieu of the carton milk (which is mostly water anyway). Using all canned coconut milk would make it far too rich and oily.
Would this recipe work with unsweetened vanilla almond milk?
Yes! But you do have to use the coconut milk with the thicker cream head in the can to get the thickness just right. 😉
Could you tell me how much sweetener (Super Sweet preferably) I should add at the blending stage to create sweetened yogurt?
We sweeten to taste in the bowl. I would try starting with a 2 teaspoons of Super Sweet and see where that takes you. 🙂
My daughter is having to go dairy free and I said I’d do
it with her! Just wondering if I could use coconut cream rather than full fat coconut milk for the second step (since that’s what I have) or if that wouldn’t work for some reason?
Coconut cream may make it too thick, but you can thin it to the consistency you prefer with some coconut milk. 🙂