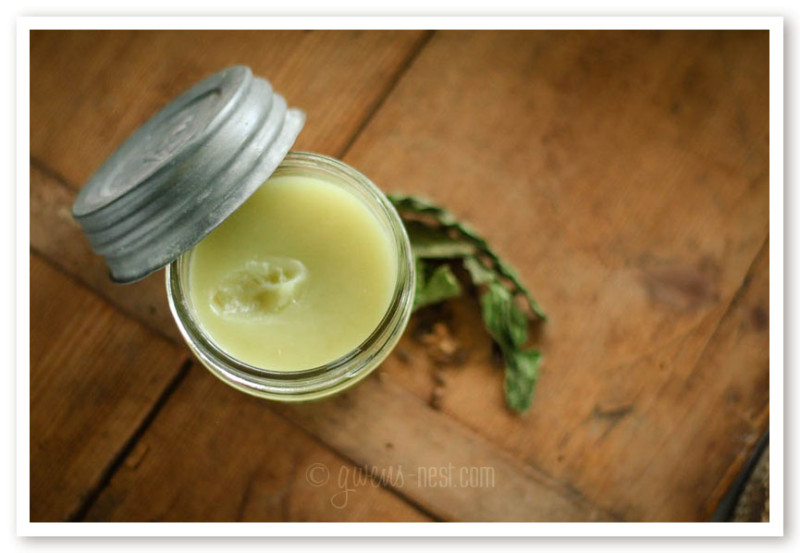
 Salve recipes were the second thing I learned to make when getting into herbal remedies. The first thing I learned to make was herb infused oil-and salve is just one simple step beyond that. Today I will walk you through my technique for making an infused oil and turning it into a simple salve. At the end, you’ll find printables with a couple of herbal salve recipes.
I will also walk you through the dark history of my photography “skills.” I’ll let you guess which photos are from my archives of awfulness.
Why Salve?
Admittedly, salve is oily. The base is, after all, an herb infused oil. While that may sound, well…*greasy*, there is a really good reason for this. Oils do a fantastic job of absorbing into the skin, and pulling the lovely herbal goodness right along with it.
Another great reason to create salves is shelf life. I use dried herbs, so there is no water content in the salve to spoil it. Mold needs moisture to grow, so homemade lotions and water based preparations tend to need refrigeration or they spoil quickly. Salves have a looooong shelf life. Basically, the shelf life equals the shelf life of the oil you choose. I’ve kept salves for up to 2 years, and they are still potent and fresh!
Choosing Ingredients
My first batch of herbal oil was made with olive oil because that’s what I happened to have in the pantry at the moment. Olive oil is very heavy and produces a greasier salve. My very favorite oil to use is almond oil, but grapeseed is another good choice. Try testing out different oils to see which ones work best on your skin, and you can even blend oils or oils and butters melted together for your base. I find coconut oil to be very drying for my skin, but it’s a great choice if you deal with weepy rashes.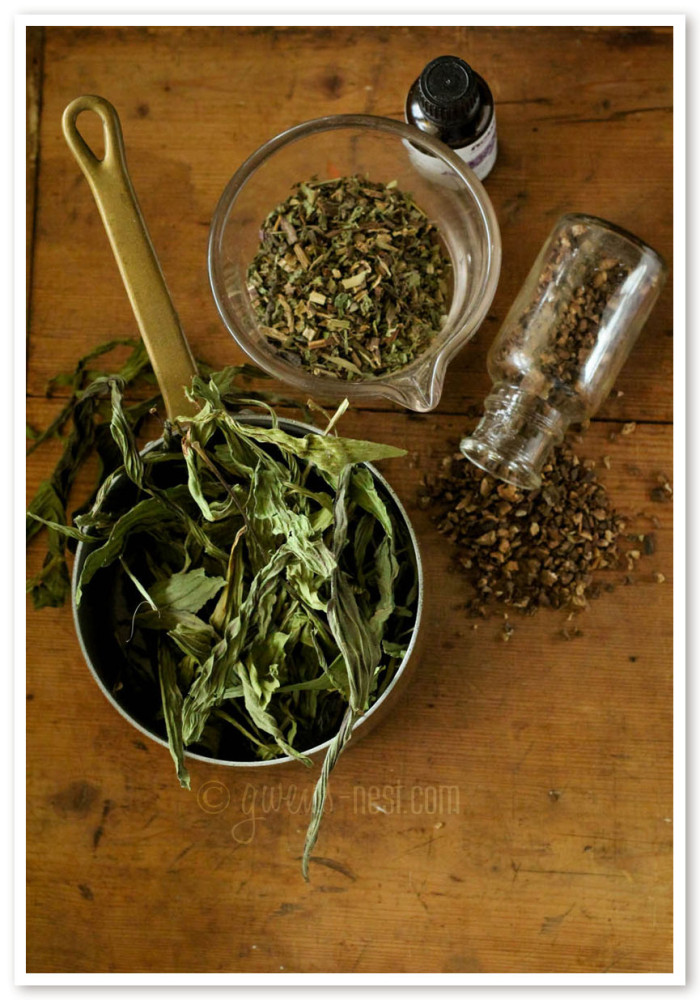
plantain leaf, comfrey leaf, and burdock root
I will recommend specific herbs below in the printable salve recipes. My go-to *must-have* salve that gets us through bug bite and poison ivy season uses plantain herb. It’s a very common yard herb that most people know as a weed. I wrote more about plantain here and how to identify it. The plantain above was picked by my niece from her yard, and I dried it to use in salve. Chick Weed and Jewel weed are other common herbs that are great to use in a spring or summer salve. Calendula is a classic herb for skin, and makes a nice addition to any blend for skin. You may use a mix of herbs, or stick with one single herb in your salve. I usually lean toward a mix of herbs or herbs and essential oils.
I also love to add in synergistic essential oils to boost the healing properties and as a natural preservative and scent.
Tip! Gather and wash/dry small jars and containers ahead of time. The dollar tree often has sets of small 2 oz. plastic containers with lids in a 10 pack that are perfect for keeping in the first aid kit or bathroom (anywhere greasy hands and glass jars don’t mix). I also like the small 4 oz. jelly canning jars to hold salve. And the paint department at our local craft store has tiny paint jars with plastic tops that are the perfect size for samples or to carry in my purse. I usually do a mix of container sizes and make a big batch!
Making Herbal Infused Oil
I’ve made *many* different salve recipes over the years. There are several techniques for making herbal infused oil, which is the basis for salve, and I’ve tried many of them. They all work well. Pick one way that sounds easiest for you, and go with it.
Cold Infusion
The simplest technique is to simply add dried herbs to a jar and cover with oil. Allow the herbs to steep in the oil for up to a month, shaking as often as you can remember. This method takes a while, but it’s effective. 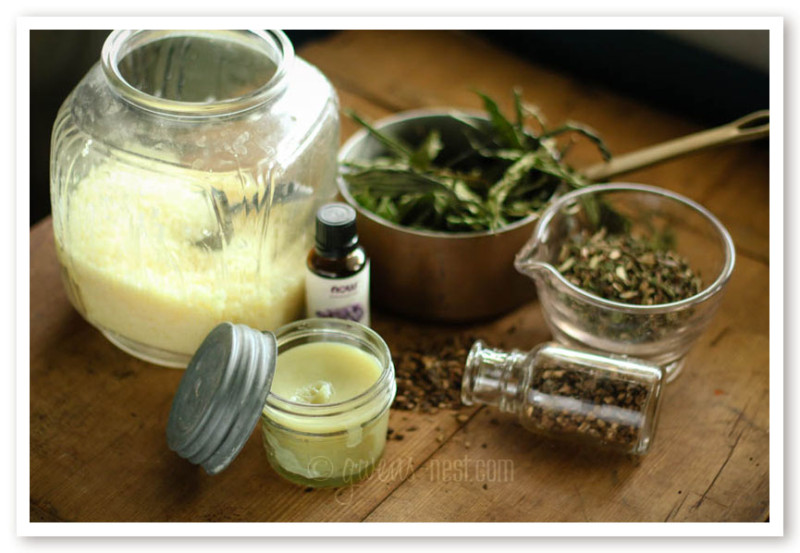
Stovetop or Oven
I don’t normally opt for the cold infusion. Maybe I’m an impatient person by nature, but maybe it’s because my son had a grody case of poison ivy the first time we discovered the amazing properties of plantain herb. So I needed a quicker method of creating plantain oil. I simply turned a burner on the lowest heat setting possible and gently warmed my oil and herbs together until the oil was had turned a nice, deep color and had taken on the scent of the herb. This can take several hours, since the heat is on the lowest possible setting. Alternatively, you can place your oil and herbs in a glass canning jar and place it in the oven on the warm setting for several hours, using an oven mitt to remove the jar. 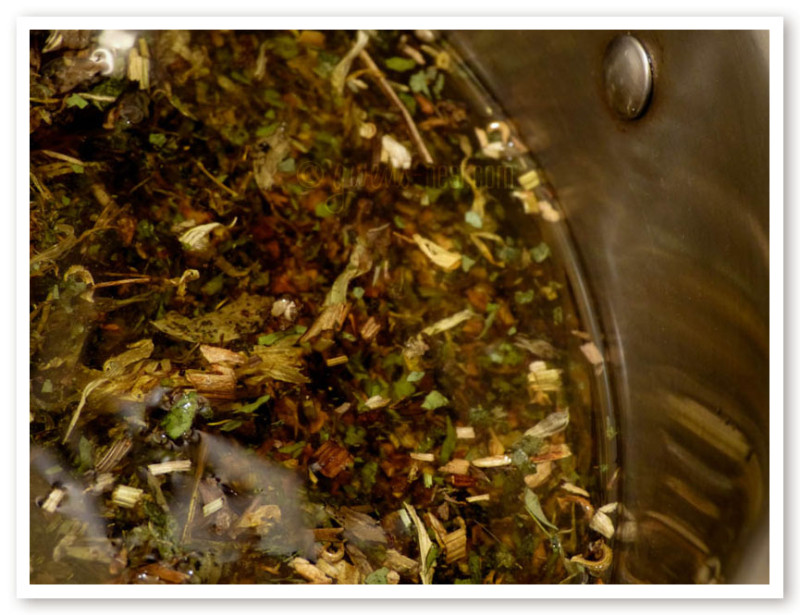
Tip! I find that using leaf and flower herbs produce a finished infused oil much more quickly than blends using barks or roots.
Crock Pot or Bottle Warmer
Another method that doesn’t require baby-sitting is to use a crock pot or a bottle warmer for smaller batches of oil. To use your crock pot, place a rag worthy kitchen towel or washcloth into the bottom to buffer the jars. I used pint sized canning jars, added my herbs and covered them in oil. Then I sealed them and placed them into the crock pot. You can fit several jars into a large crock pot, and do a different blend of herbs and oils in each one if you want! Once your jars are in place, fill the crock pot with water to cover 3/4 of the jar, and place the lid on the pot. Cook on low heat for 3 to 4 days, adding more *hot* water down the side of the crock liner as needed. (Don’t pour cool water over the hot jars, as they can crack!) Once the oil is a deep color, allow crock pot to cool down and remove jars and strain as instructed below. 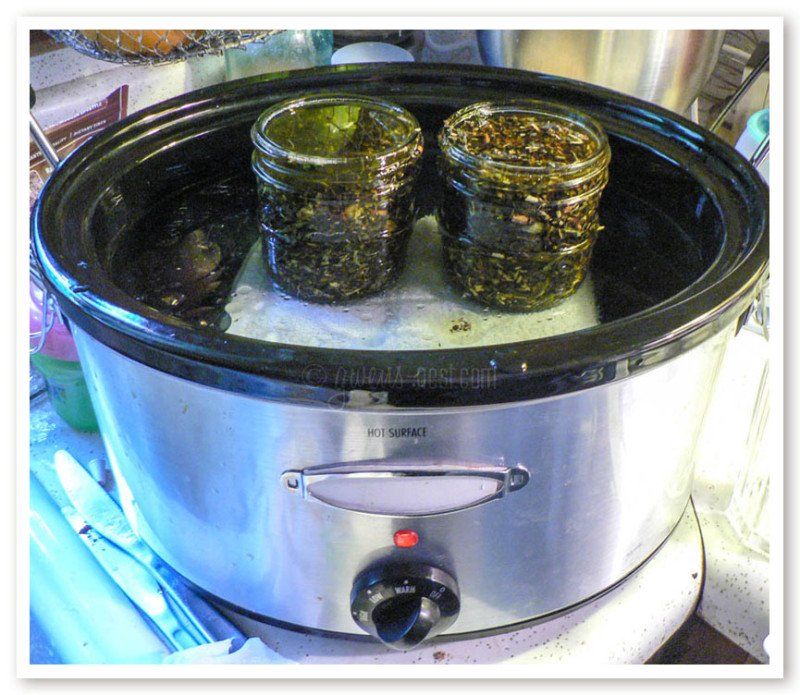
To use a bottle warmer for a small batch of oil, just fill a half pint jar with your herbs and oil, cover, and follow the directions on your bottle warmer, allowing it to cook for 3-4 days. Keep the water level filled according to the directions on your model. (If it runs dry and turns off, not a big deal…just refill and get it heating again.)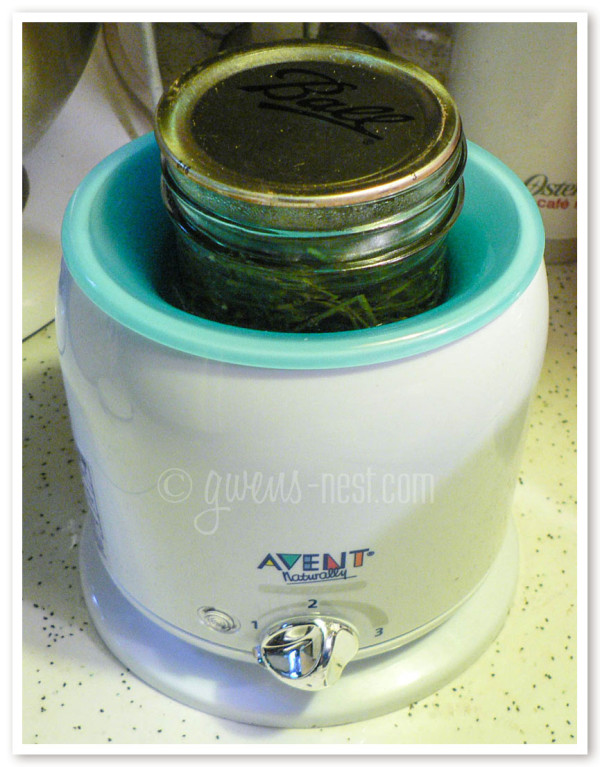
Straining Your Herb Oil
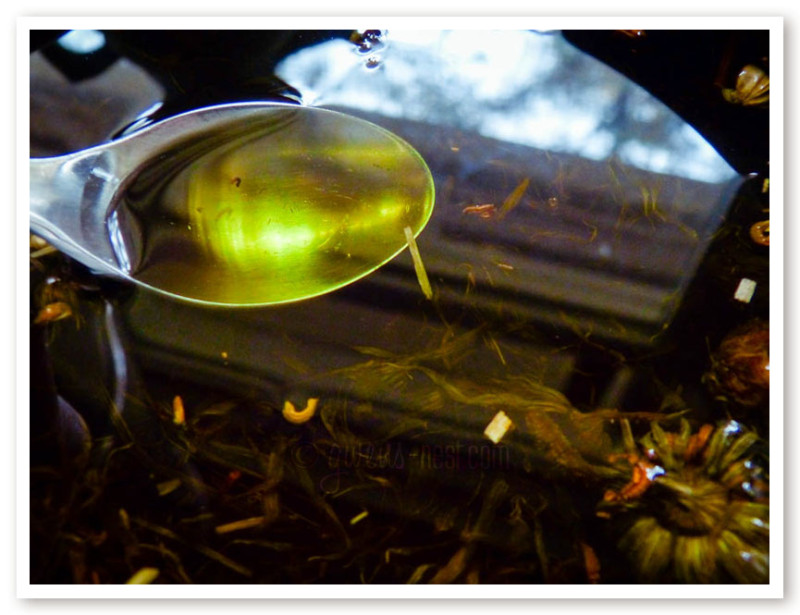 Once your oil is a lovely shade of herb, you are ready to strain off the used up herbal material. You can strain through a normal metal strainer, but you’ll get flecks of herbs that make it through into your oil. My favorite approach is to use a clean, soft rag, and line it with a layer of paper towel. You’ll see why in just a moment.
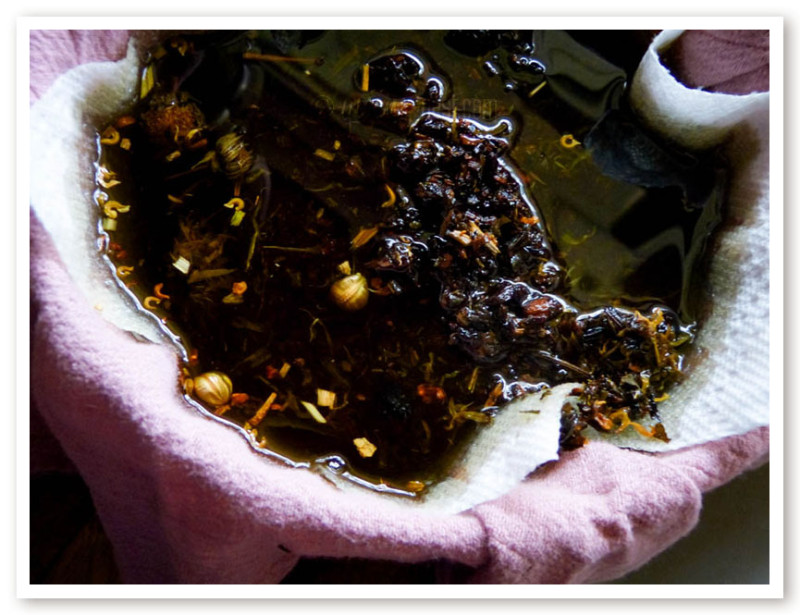
Remember though that this is oil, and oil is not easy to wash out of fabric. So you may choose to use a disposable piece of cloth for this.
I set up my large glass mixing bowl with a metal strainer over the top, lined with an old tea towel and a paper towel. Carefully pour your oil and herbs into the strainer. Once all of your herbs are in the strainer, gather up the fabric and twist to remove as much of that good oil as possible.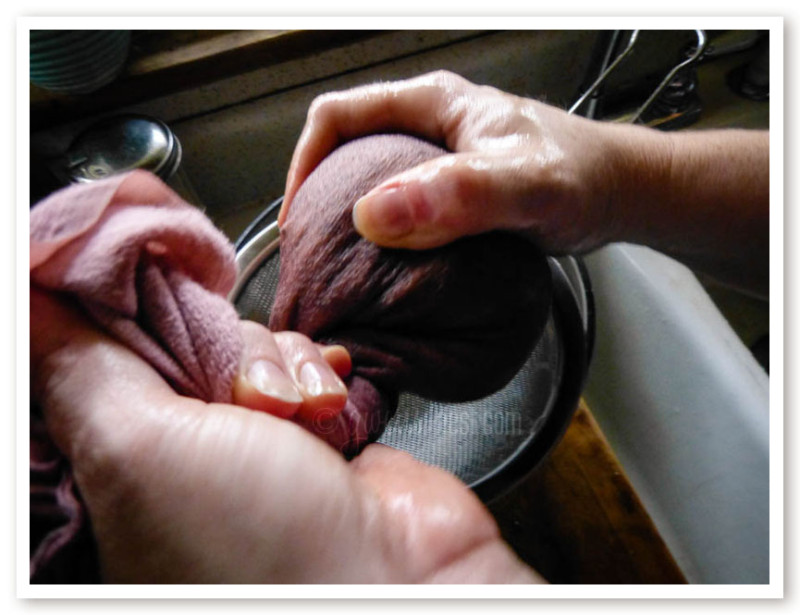
Before squeezing out the herbs, I only had 4 cups of herbal oil. But after compressing the herbs, I had a full 6 cups!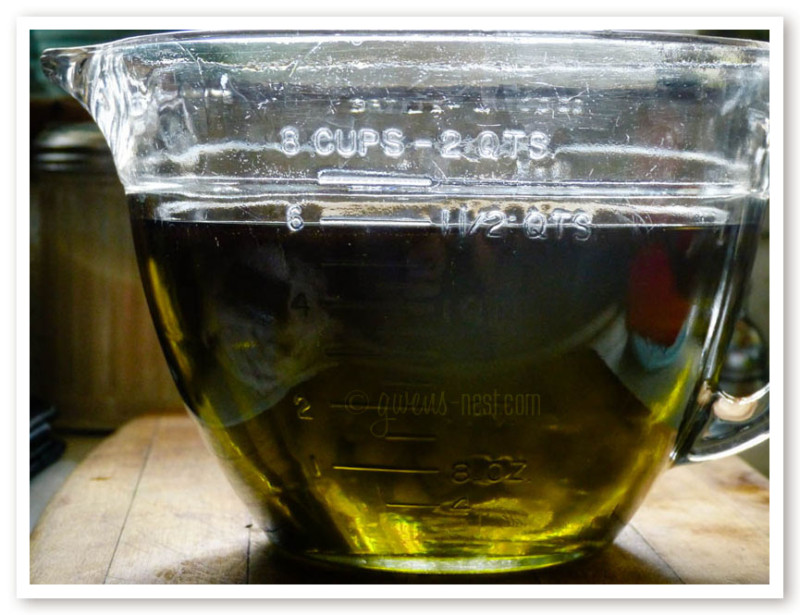
Pay close attention to your oil measurement, because you’ll use that to decide the measurement for beeswax in the next step.
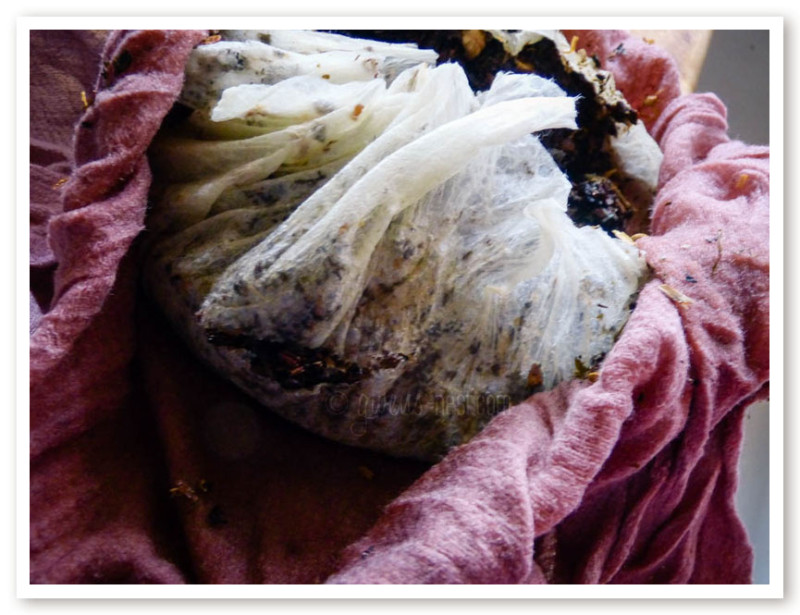 Lining your towel with a paper liner allows you to easily dump off the herb mess- it’s used up, so it can be discarded or mulched. I used my still clean towel to wipe out the pot that I made the herbal oil in- removing any herb flecks that may still be clinging to the sides and bottom so that it can be used for the next step:
Making the Salve
To create salve you’re going to take your beautiful herb oil and heat it one more time with beeswax. This solidifies the oil into a creamy balm that’s much less messy to apply, and easier to travel with. I prefer a ratio of 1 cup of oil to 3 to 4 tablespoons of beeswax pellets.
So for this batch of 6 cups of oil, I’ll add 18 tablespoons of beeswax pellets (or 1 1/8 cup)
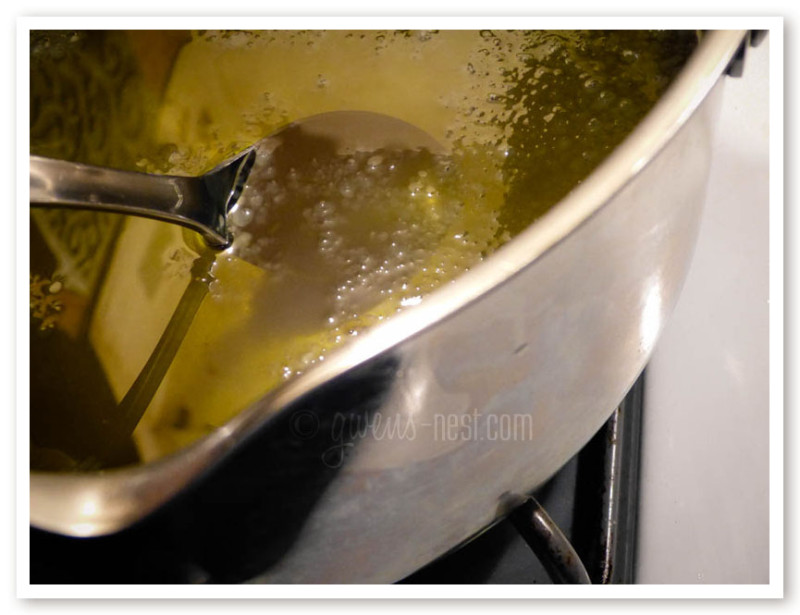
P.S. I *adore* the cook & strain stock pot (affiliate link) with pouring spouts for projects like this. Thanks Mother-in-law for this awesome gift!
Once your oil and wax is melted together, allow it to cool a bit and pour into small, clean containers. I like to make a big batch every year or two to give as gifts and to keep us stocked up. 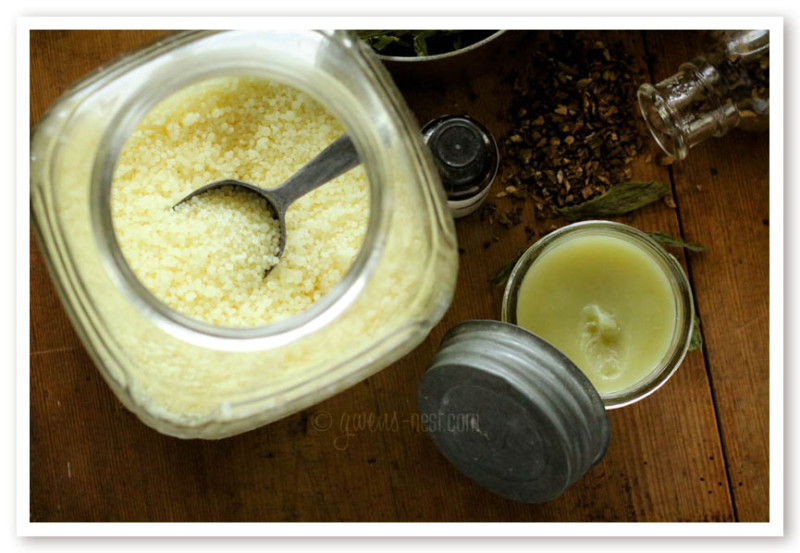
Your Printable Salve Recipes & Pin!
- 2 cups almond oil or oil blend- you can use olive oil, coconut oil, etc.
- 2 tablespoons dried plantain leaf
- 2 tablespoons dried comfrey leaf or root
- 2 tablespoons dried burdock root
- ¼ to ⅓ cup beeswax pellets
- 1 teaspoon vitamin E oil, optional preservative
- 20 drops lavender oil, optional
- Place herbs and oil into container of your choice to create an infused oil. You can heat the oil and herbs in a pot on very low heat for 3 hours, cold infuse them for one month in a quart canning jar, or use a crock pot or bottle warmer to steep the herbs for 4 days to extract the herbs. (see blog post for additional details)
- Once oil is fully infused, strain off herbs into a glass measuring cup. Place a strainer lined with fabric and a paper towel over the measuring cup and pour your herbal oil into the strainer.
- Gather up the fabric and twist and squeeze the herbs to extract every last drop of oil you can.
- Check the measurement of your oil. For every cup of oil you'll add 3-4 tablespoons of beeswax pellets. For every ¼ cup of oil, you'll add 1 tablespoon of beeswax.
- Add your strained oil to a small pot on the stovetop and add in beeswax. Heat over low heat, stirring until it's fully melted. I like to test the texture by placing a spoon into the freezer to firm it up quickly. If your salve is too soft, you can add more wax. If it's too hard, you can add a little plain oil.
- Remove pot from heat, and allow to cool down enough to add essential oils.
- Stir in lavender essential oil and vitamin E oil as a preservative.
- Pour into clean dry jars, and allow to cool.
- 1⅓ cups extra virgin coconut oil
- ⅔ cup avocado oil or shea butter
- ⅓ cup dried calendula flowers
- 1½ tablespoons neem oil, optional (it's stinky)
- 20 drops lavender essential oil
- 20 drops tea tree essential oil
- 20 drops rosemary essential oil
- 1 teaspoon vitamin E oil as a preservative, optional
- Combine oils (or oil and butter) in a small saucepan and warm to melt them together. Add calendula flowers and cook on lowest heat for 2 to 3 hours until oil has taken on scent and color of the flowers.
- Strain oil through a fabric and paper towel lined strainer over a glass measuring cup. Once you've poured all of the herbs into the strainer, gather up fabric and twist and squeeze to get every drop of oil that you can out. Discard herbs.
- Check the measurement of your oil. For every cup of oil you'll add 3-4 tablespoons of beeswax pellets. For every ¼ cup of oil, you'll add 1 tablespoon of beeswax.
- Add your strained oil to a small pot on the stovetop and add in beeswax. Heat over low heat, stirring until it's fully melted.
- I like to test the texture by placing a spoon into the freezer to firm it up quickly. If your salve is too soft, you can add more wax. If it's too hard, you can add a little plain oil.
- Remove pot from heat, and allow to cool down enough to add essential oils.
- Stir in essential oils and vitamin E oil as a preservative.
- Pour into clean dry jars, and allow to cool.

Resources
Mountain Rose Herbs is a one stop shop for great quality organic herbs, essential oils, base oils and beeswax pellets. (affiliate link)

Amazon also carries a wide variety of herbs, base oils, essential oils (NOW and Eden’s Garden are great brands), and beeswax pellets. (affiliate links) And they offer sweet free shipping deals.
This is awesome. Thank you.
This is great stuff! My husband and I got chiggers recently. He used drug store remedies and I used this salve. Mine healed much faster and bothered me far less than his did!
Yay! So glad that it helped. We love it here too. I’ve sent it to missionaries overseas in jungle type living conditions and they found it super useful too.
Forgot to rate on my last comment 🙂
The cooking vessels that you use to make your salves, do you use them for cooking food as well? Or do you have a couple pots you save just for these purposes? I would like to make some things like this, but am unsure if I should used different pots or the same ones I use for cooking food.
I use the same pots and pans for salves. And hand wash in hot soapy water or run through my dishwasher. 🙂
The only time I use separate items is if I’m using a coffee grinder for spices. I do have one of those that’s just for herbs.
LOVE this post! Thank you ! Would you mind sharing what brand of Vitamin E oil you use for the salves? Perhaps it’s available in your Amazon store?
If you have a used book store in your area stop in on a regular basis.I have pueahcsrd some of the best gardening/plant books I own, from stores like that.You will go in on one day and they may not have anything you can use but on another day you may find five books on your specific subject.I recently has looking for a few reference books on Orchid Culture and Hydroponics and found a better selection at a local used book store than they had at Barnes Noble I returned the books from B N and saved about $65.The three books I bought at the used book store cost me $21.The two books I pueahcsrd at B N were almost $90 with tax.Used book stores also carry overstocks’. Books that were printed for sale and never sold so they are new. Two of the books I pueahcsrd at the used book store were new the third had belonged to someone at some point but was in new condition. They were also more than half the cost of the purchase price printed on the books by the publishers.Of course, the local library is a good source for reading and note taking but sometimes it’s nice to have a few reference books handy. ..…
SUPER tips, Sabri! I love used books, and most of mine are bought used via Amazon or the thrift store. But I *love* the idea of supporting used bookstores and being able to shop according to sections.
Thank-you! This is a beautiful, and thoughtful tutorial. It is the perfect article for a new salve-crafter.
I’m curious about mold. I want to add vitamin e. If we don’t have any how long will it last? Does it need refrigeration? Thanks
I have not added vitamin E, and have not had any mold, because there is no water in the formula for the mold to grow off of. Vitamin E may help extend the life of your base oil, though. We use it up pretty quickly, but I found the remnants of an old jar from a couple years ago, and the oil can go rancid over time.
Love it thank you